Hello!
Today I am sharing with you a very quick and easy fabric bunting tutorial using my Cricut Maker.
In this house, a little Scout Elf, Sparkle, comes to visit us each Christmas and the different activities she has been bringing along from the North Pole have started to get a bit more challenging as my son grows older.
I (well, mostly Sparkle) thought some cute, easy Christmas bunting would be nice addition to the bare window in the dining room (I already have some 3M hooks up in this spot for other occasions and party bunting etc).
For this project, you will need the following:
- a Cricut Maker
- a Cricut Rotary Blade attachment (mine was included with the Cricut)
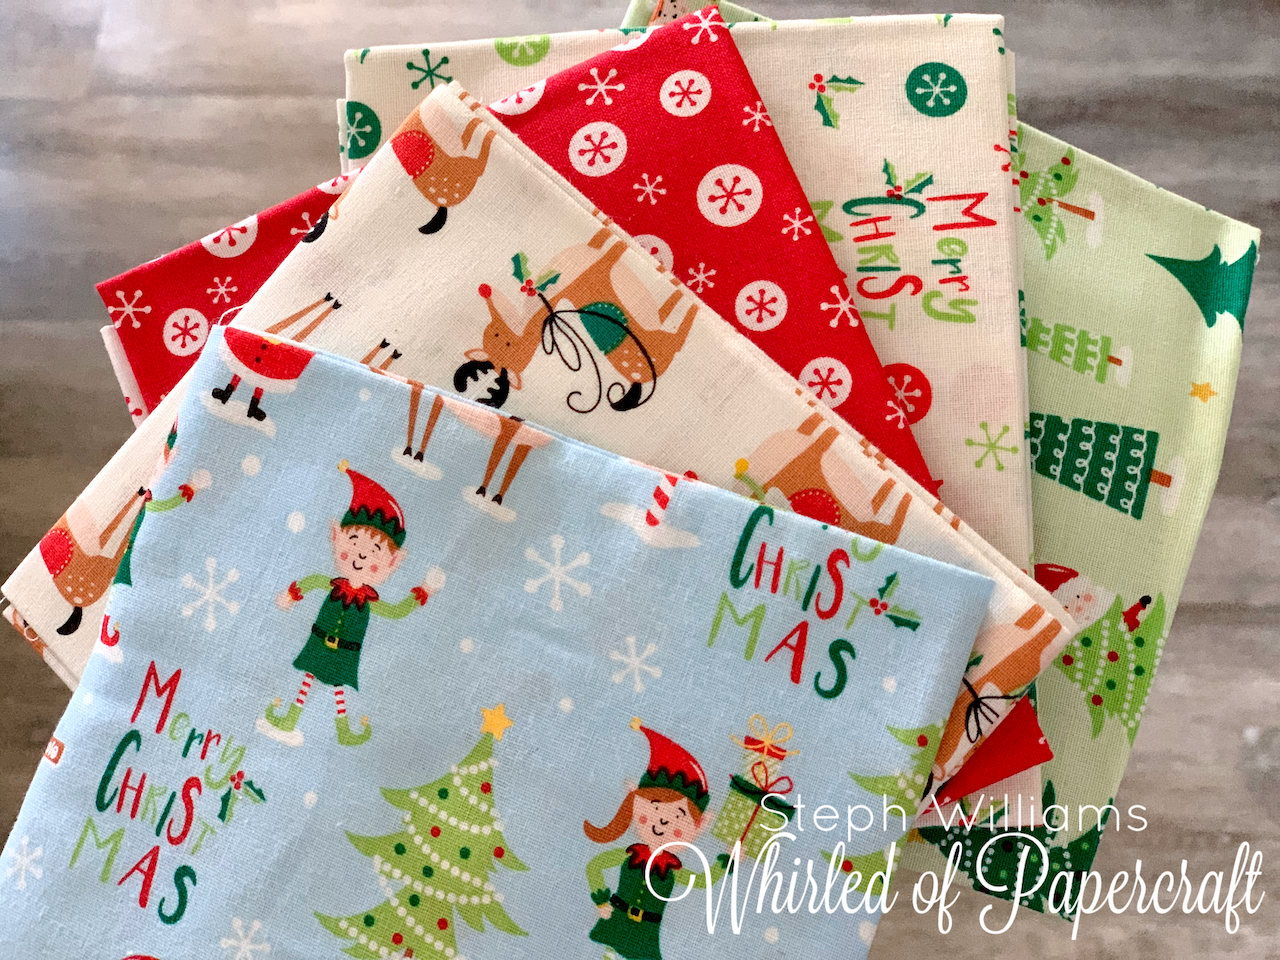
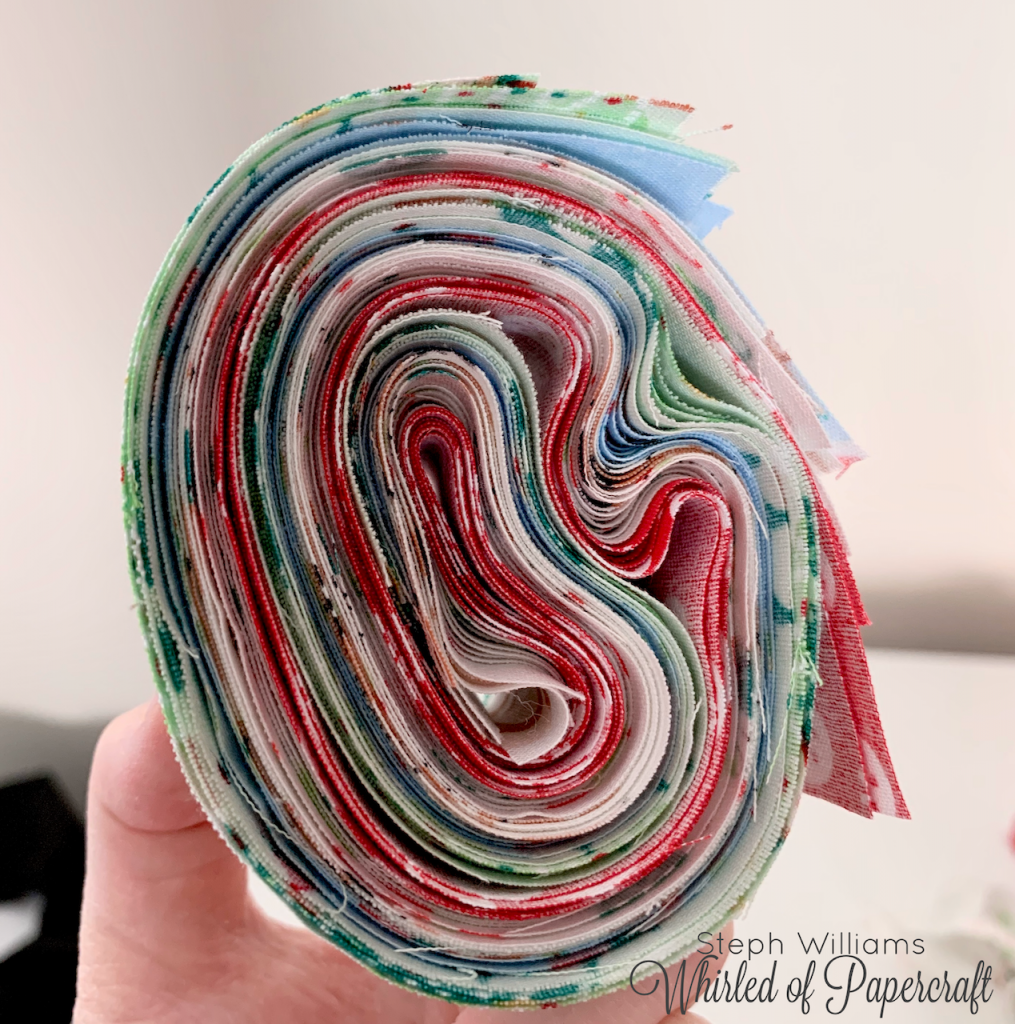
- some festive fat quarters – I used 5 different patterns
- large, strong grip Cricut mat
- fabric scissors
- an iron and board
- thin rope, string or cord to tie the fabric pieces onto
Step 1. Iron you fabric. I ironed them all in one go, the five different fat quarter designs I wanted to work work with.
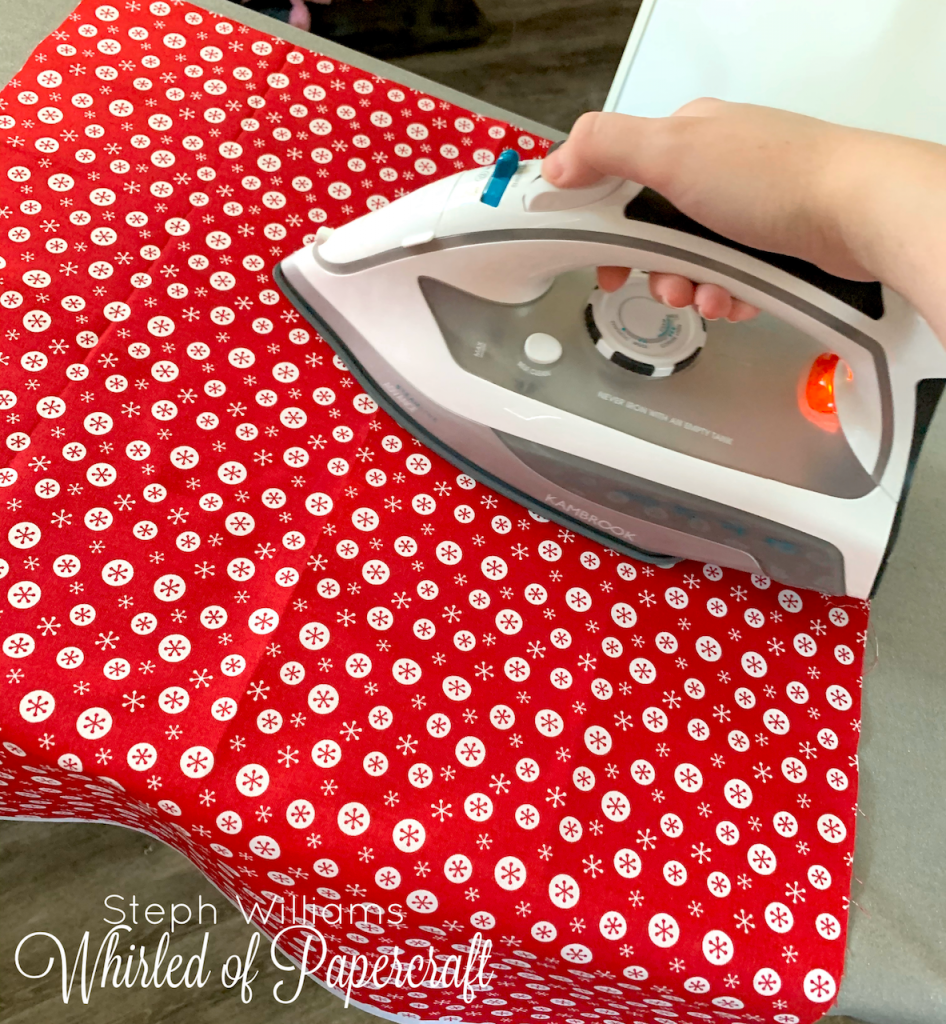
Ironing is the WORST. We truly pick clothes that don’t require ironing as both my husband and I cannot stand that chore above all others. BUT – we do still have an iron for the few pieces of clothing we want to look half decent in for special events, so that came in handy today!
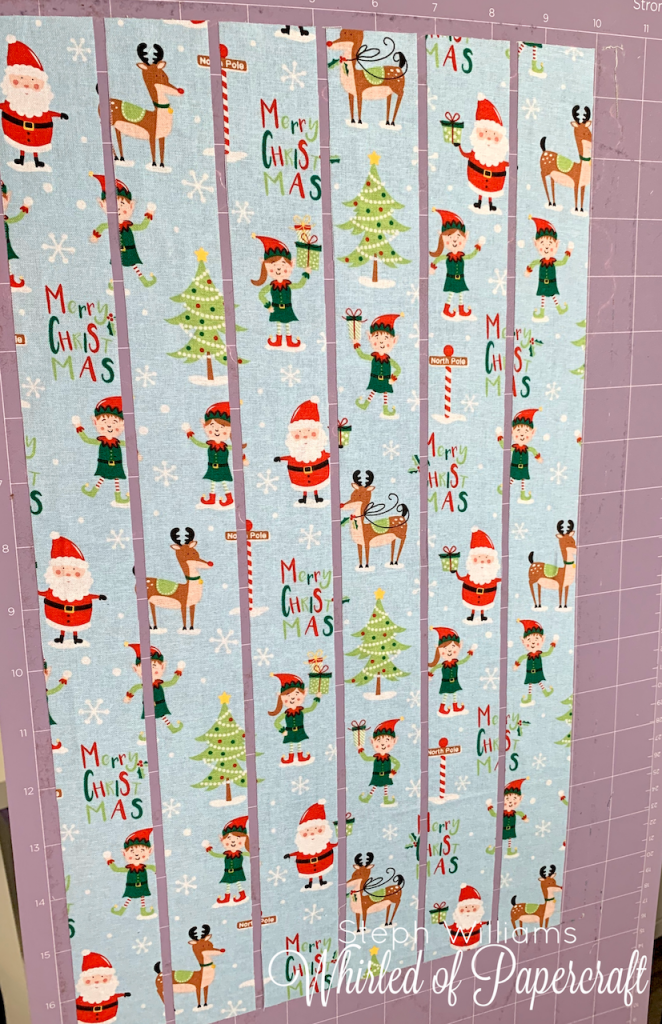
Step 2. Cut the fat quarters to fit the Cricut mat. I cut them in half (so I still have plenty of fabric to make another bunting or another project later!). I was lucky that the designs on these pieces of fabric ran the way they did, as it allowed me to get the most out of each piece.
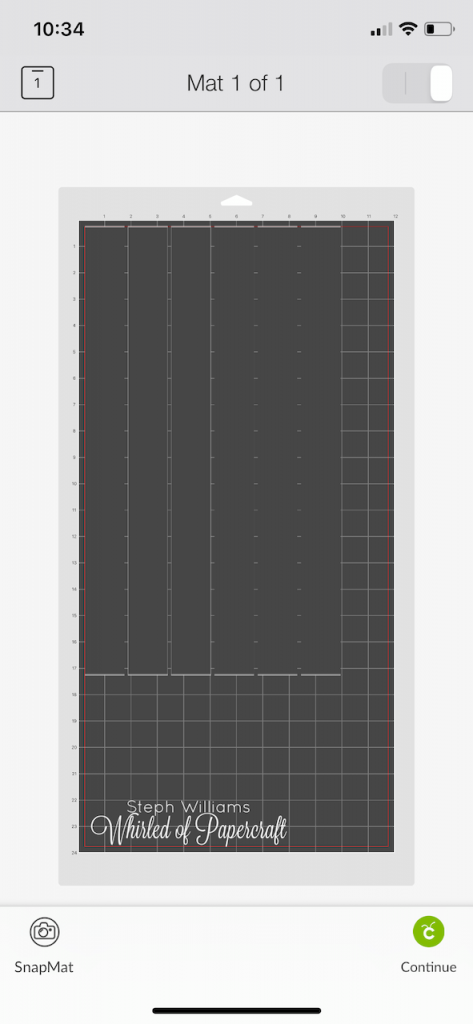
Step 3. Design Space is easy to work with! I selected shapes > square > “unlock” the little lock icon on the square > added my measurements. If these directions aren’t clear, or if you’re finding this tricky at all, please don’t hesitate to reach out! I’ve made myself quite familiar with all the amazing things Design Space has to offer.
My measurements for each of the fabric strips were 1.5inches by 17 inches, but you of course can use any measurement that suits your project!

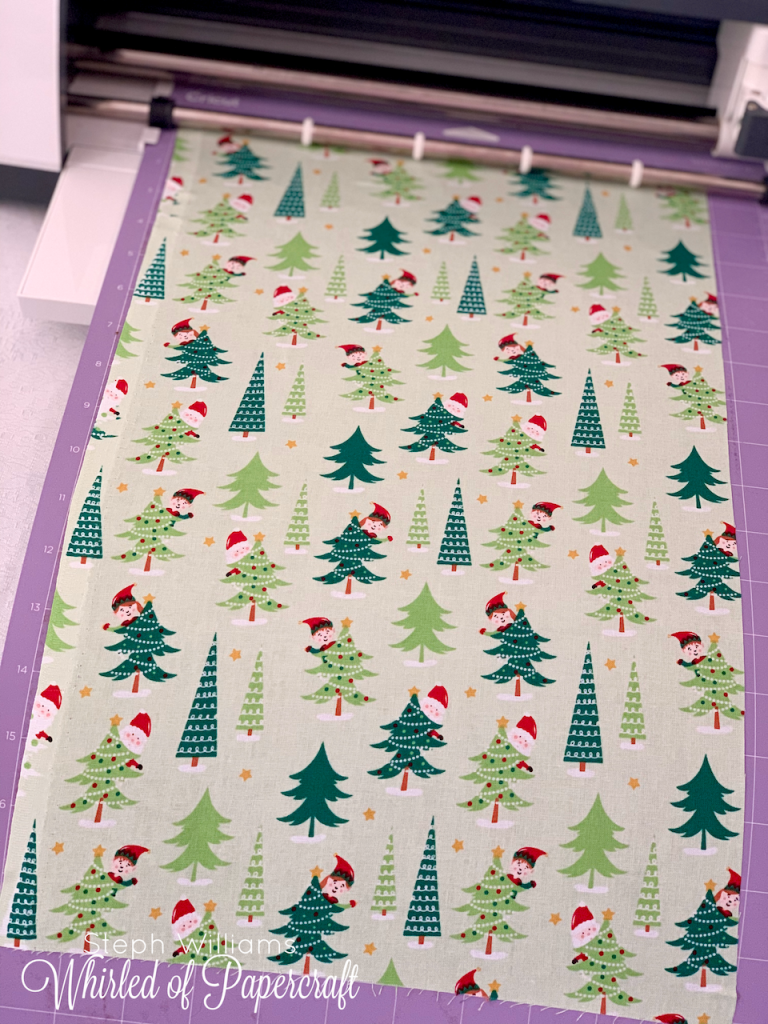
4. Load up the mat and get cutting! The next step was to select “Make It”. Design Space let me know that a larger mat was required and I agreed to move on to the next step. Ensure that fabric is smooth on your strong grip mat so that there’s no risk of lifting/getting caught in the machine.
TIP: down one side of my fabric were holes along the edge (just from the bolt/manufacturing I’m guessing) and I didn’t want that visible in the final work, so for some of the designs I turned the fabric pattern “upside down” on the mat, design still facing upward, just so that the piece with the biggest off cut to the right had the holes, while the rest was a perfect, patterned piece.
Step 5. Ensure the Rotary Blade attachment is in the machine and GO! Select the material – in this case I was working with 100% cotton, so I searched for and selected “Cotton” from the list of options.
Step 6. Watch as the Cricut works its magic and cuts perfect shapes, all exactly the same. I STILL, after a year of working with my Maker, find myself watching as it cuts, especially when working with new materials – it’s just amazing!
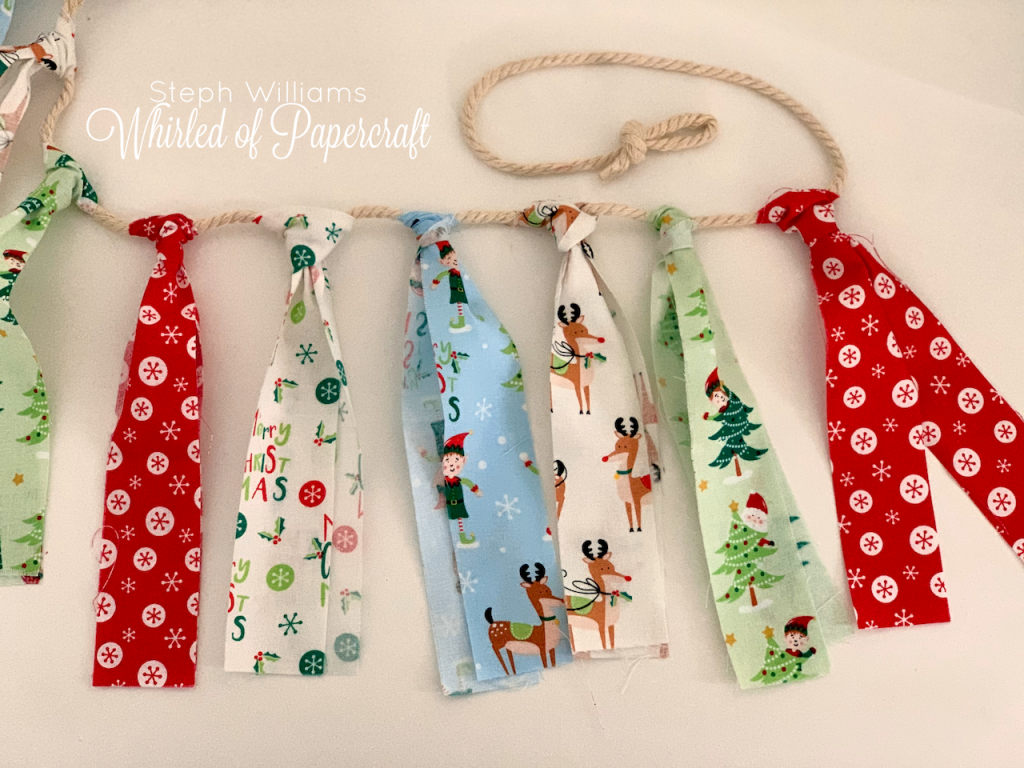
Step 7. You should now be able to remove the excess fabric and reveal your pieces for the bunting. My son and I had lots of fun picking the order of the patterns and tying the easy knots onto the rope.
This activity is great for little hands as it supports the development of both fine and gross motor movements in their fingers and hands! As for adults – it’s just fun, quick and a super cute and easy way to add some decoration into your house for the holidays!
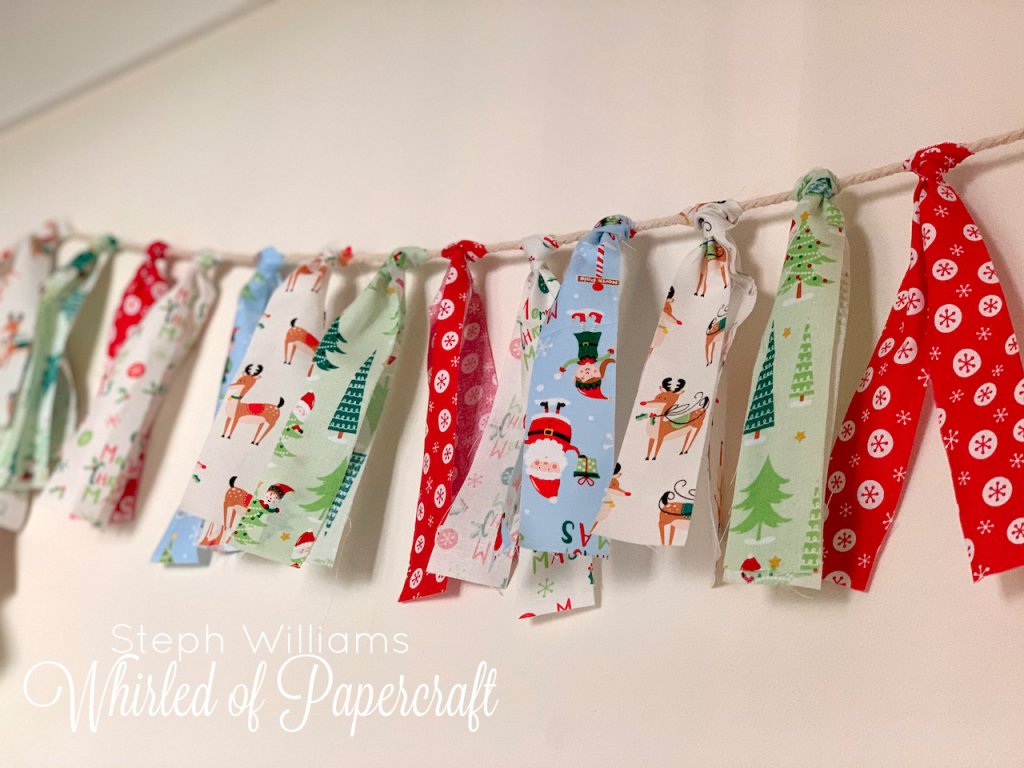
The end result turned out very cute – I have a similar project planned for Valentine’s Day!