Hello!
Today I’m sharing something a little different in the lead up to Valentines Day – venturing away from the paper to try my luck with some felt!
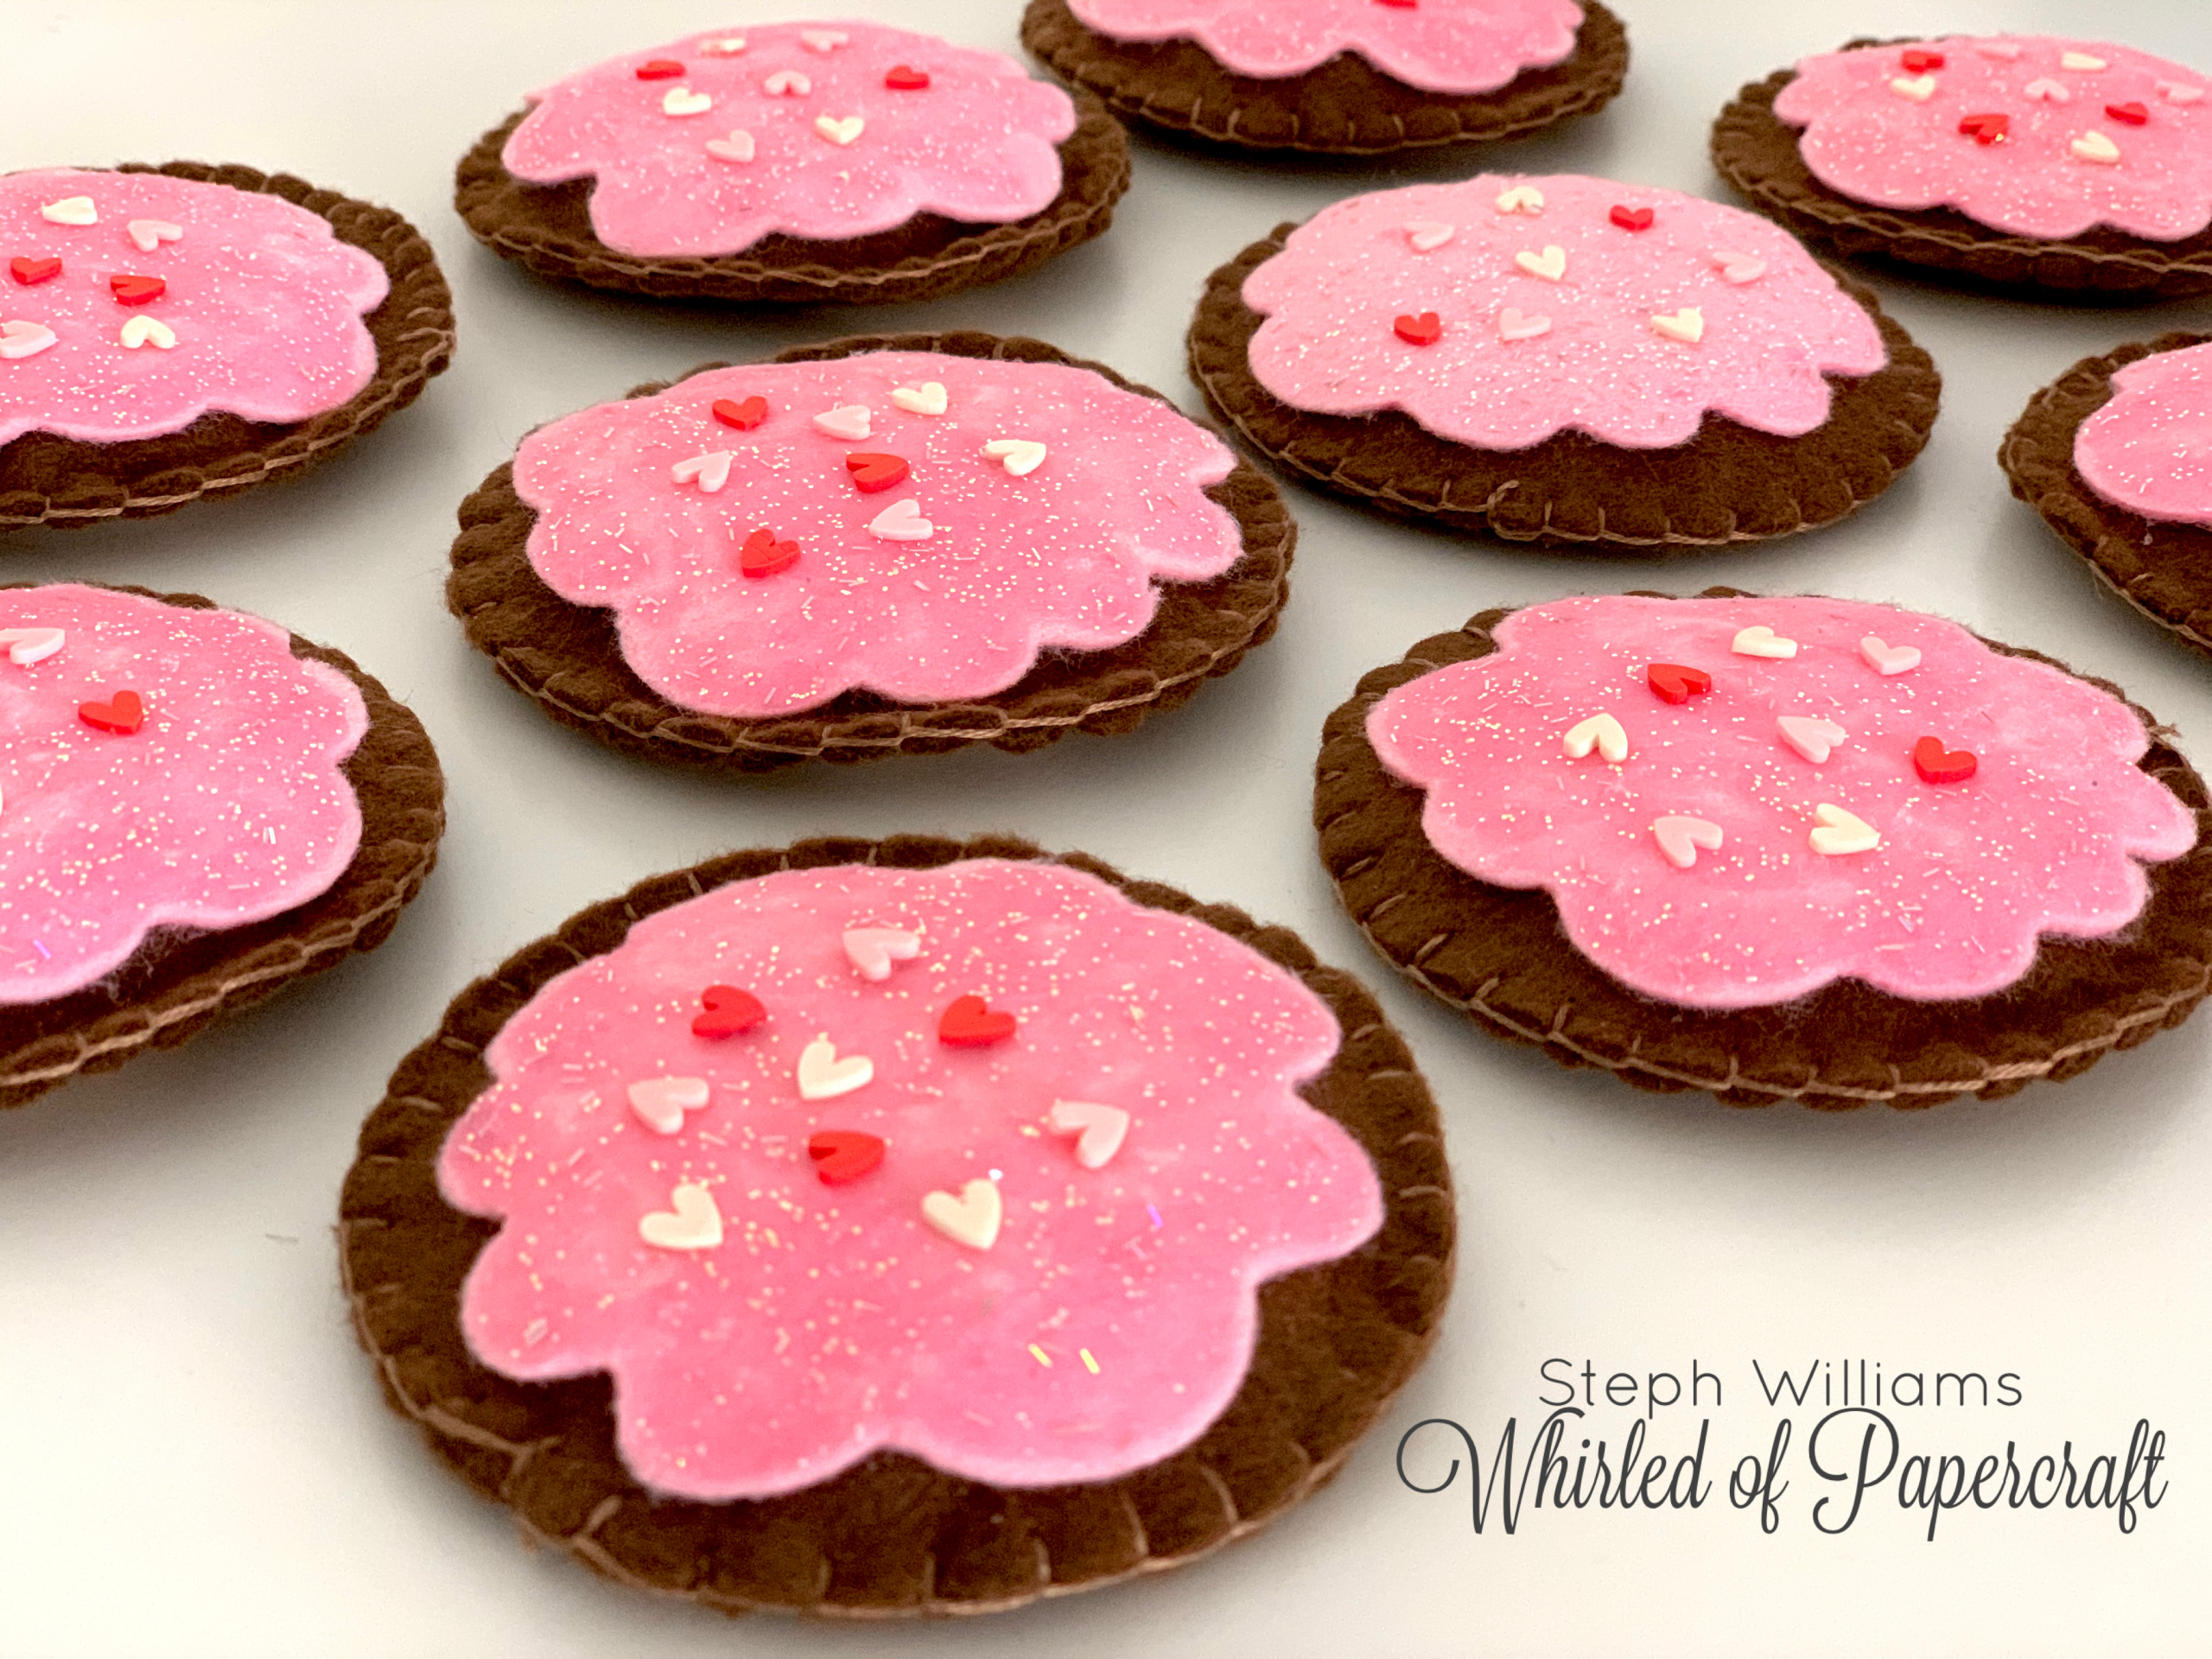
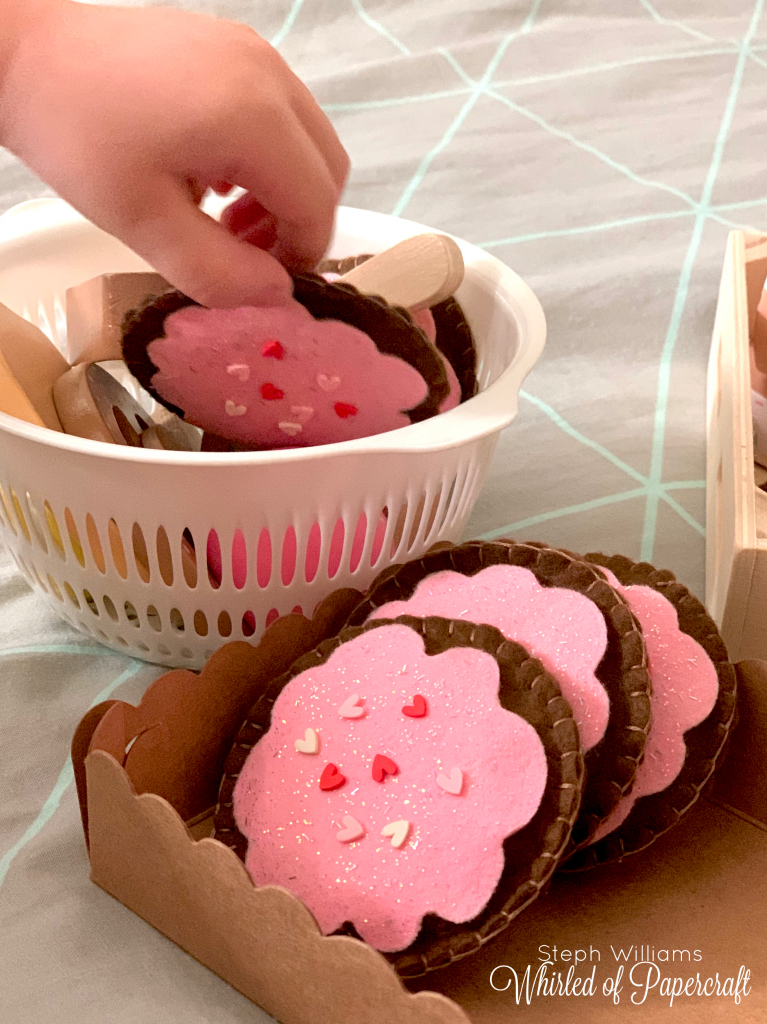
We’re making these adorable felt cookies with my Cricut Maker!
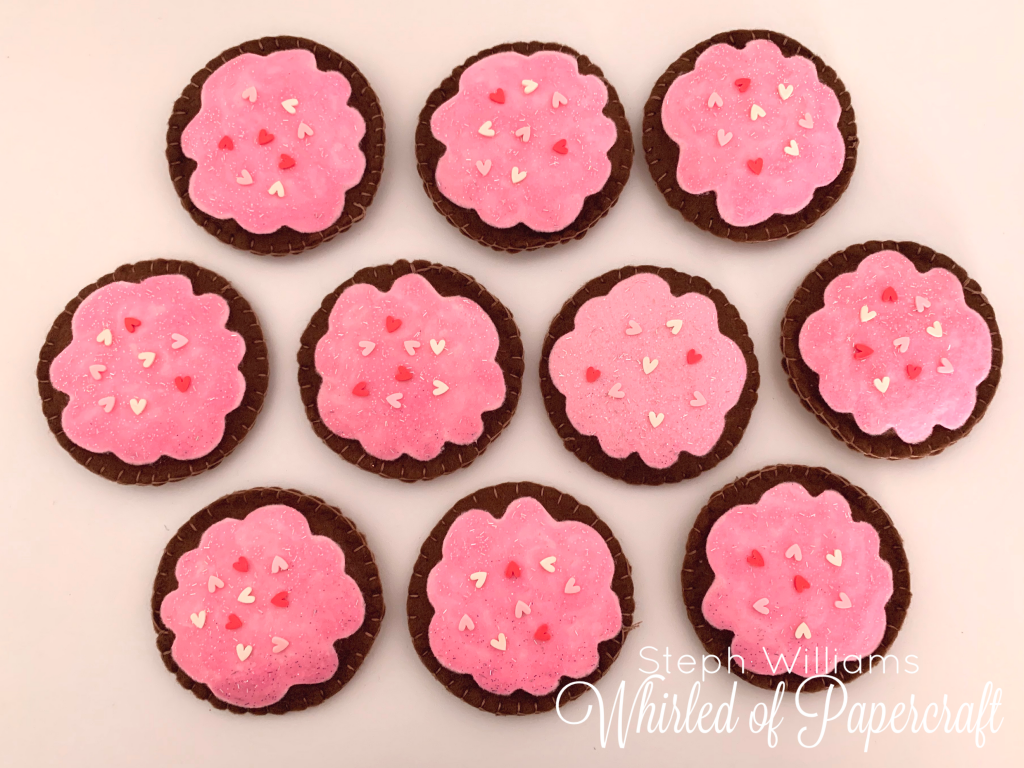
My three year old son LOVES pretend play – especially cooking and kitchen play (it’s made him such a great little help in the real kitchen!) and with Valentine’s Day coming up I thought it would make a cute theme for our first try at some felt food.
I spent some time browsing Pinterest for felt food ideas with my little one and he was drawn to the cookies (I think he takes after me!) so I set to work looking for patterns and deciding how best to go about this new task.
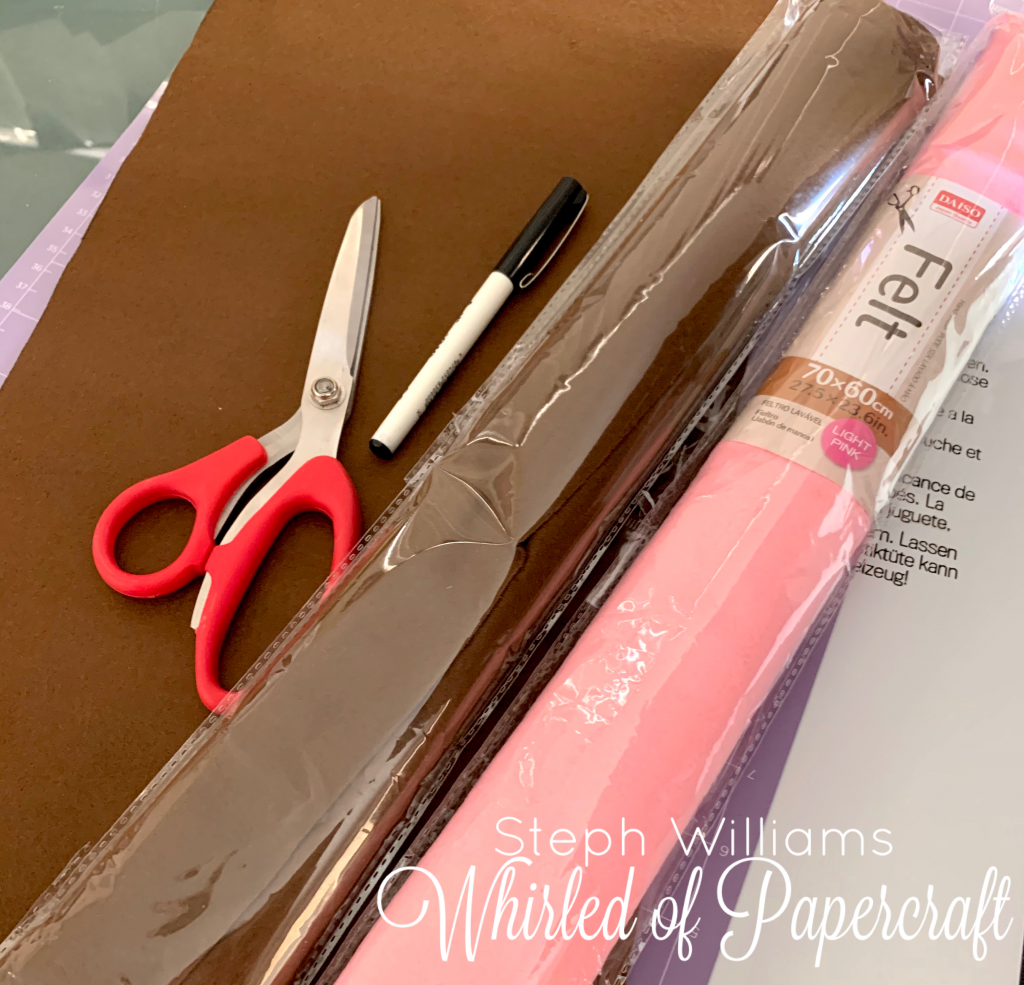
Starting with materials. I found some perfect coloured felt at Daiso for $2.80 per packet. Even after making 10 of these cookies, I still have heaps of felt leftover for future projects.
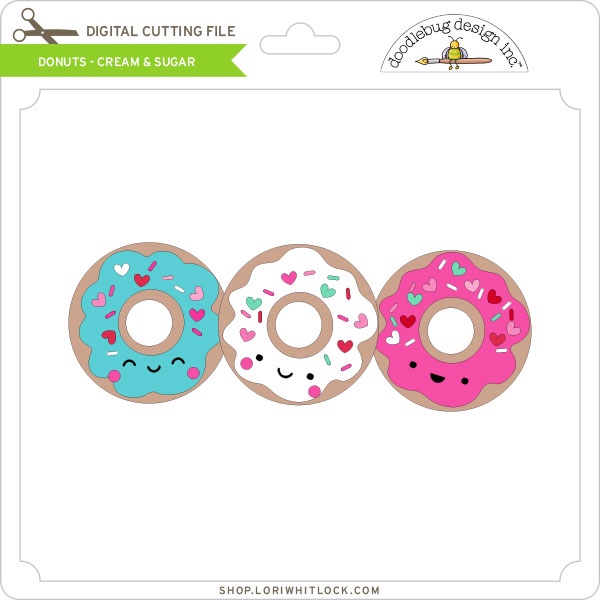
I picked an SVG that I was quite familiar with – these adorable donuts by Doodlebug Design. I removed a few of the lines and layers that I didn’t need and what was left was going to be perfect for biscuit and icing.
I bought this SVG from loriwhitlock.com – my favourite place to find designs to use on my Cricut!
When using my Cricut, I picked the strong grip mat for the felt. The machine suggested the knife blade, which I found a bit odd, but trusted the settings and went with it.
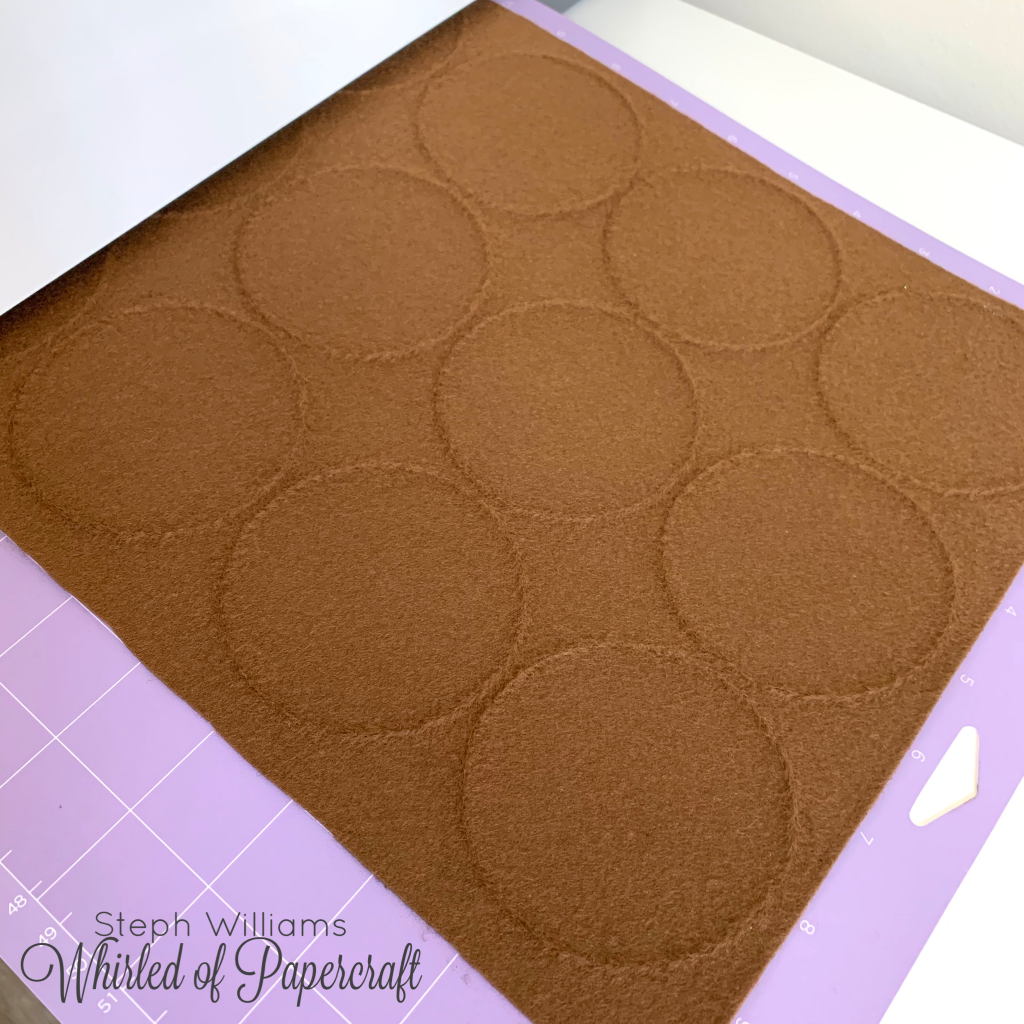
Unfortunately, I should have listened to my gut as the knife blade just wasn’t enough to cut through the felt. It did make what I would describe as a perforation which was ok as the felt wasn’t destroyed – I could still cut the circles neatly with some fabric scissors.
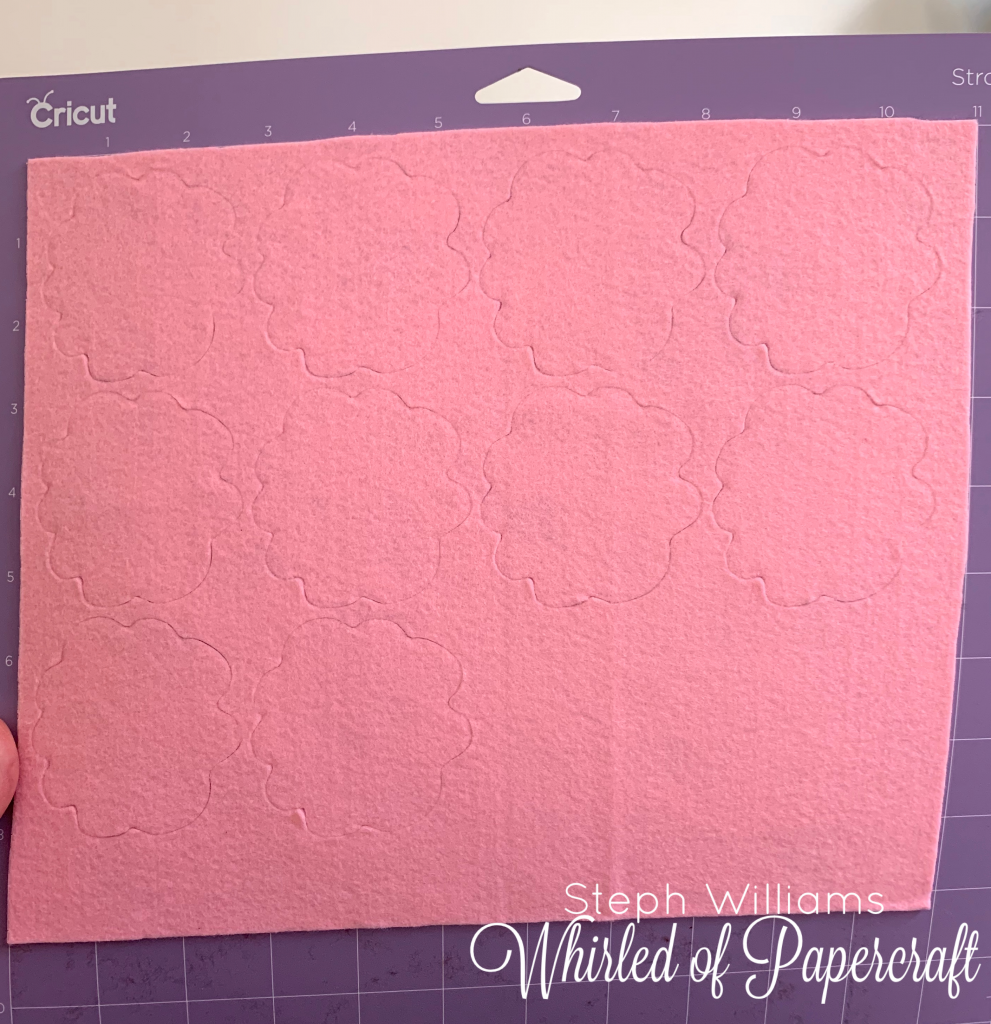
For the “icing” on the cookies I made sure I played with my settings and changed the tool to the rotary blade which was AMAZING! I’d never had a reason to use it before and was very impressed with the way it cut the felt perfectly.
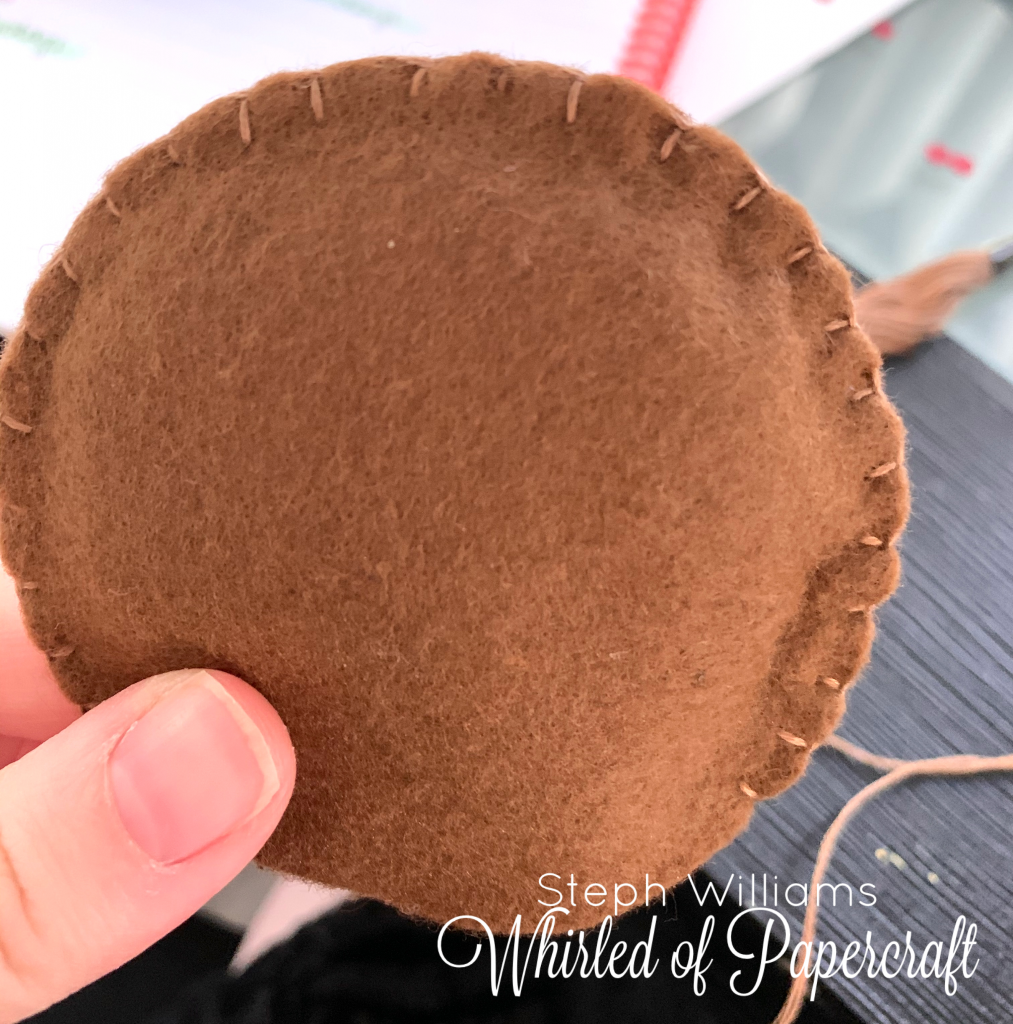
After a quick search on YouTube of different stitches, I decided to go with the “blanket stitch”. It was the first time I’ve worked with this stitch (so I’m hoping to get neater over time!) but it was actually pretty straight forward to do and I think it makes the cookies look tidy and well-sealed.
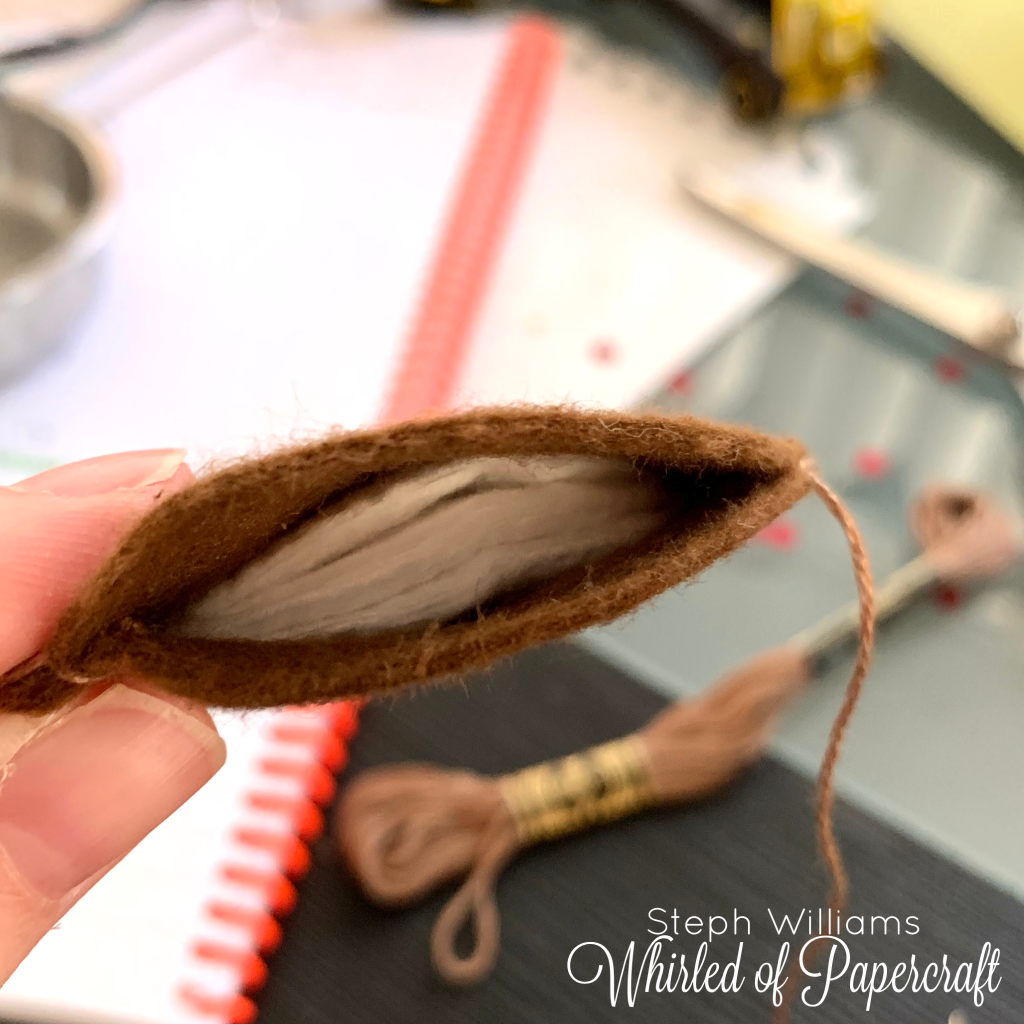
To make the cookies a bit more dimensional, I put a few makeup rounds in each of them.
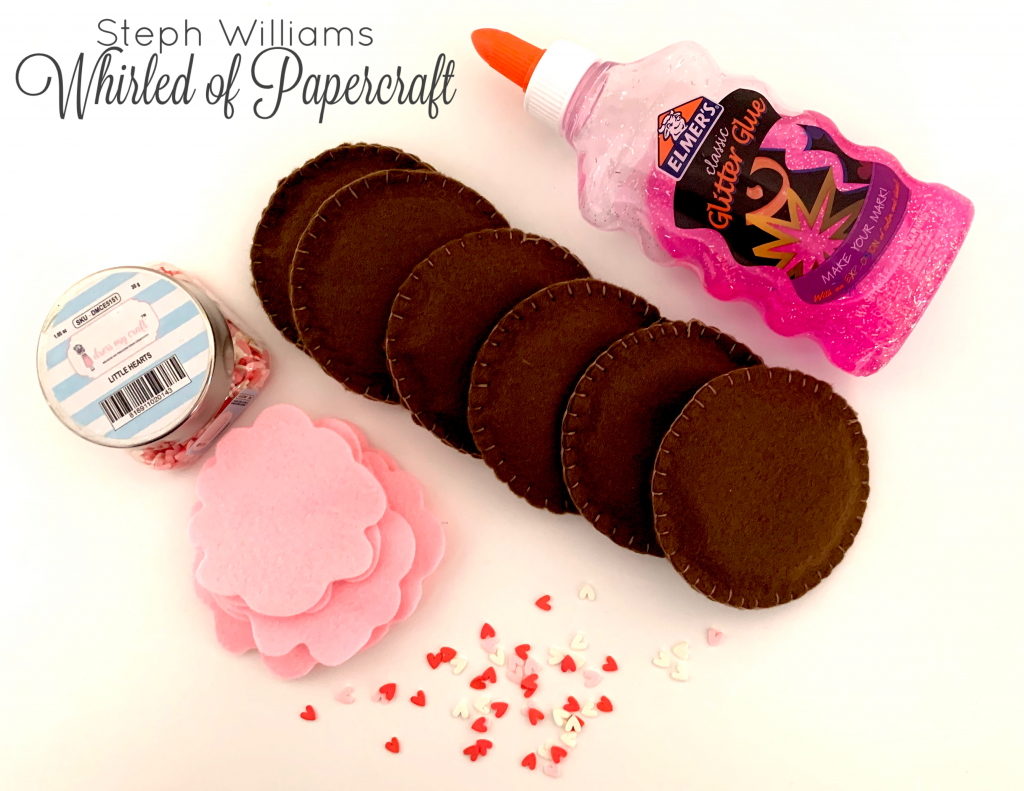
It was then time to decorate. My favourite part of any cookie – real or pretend!
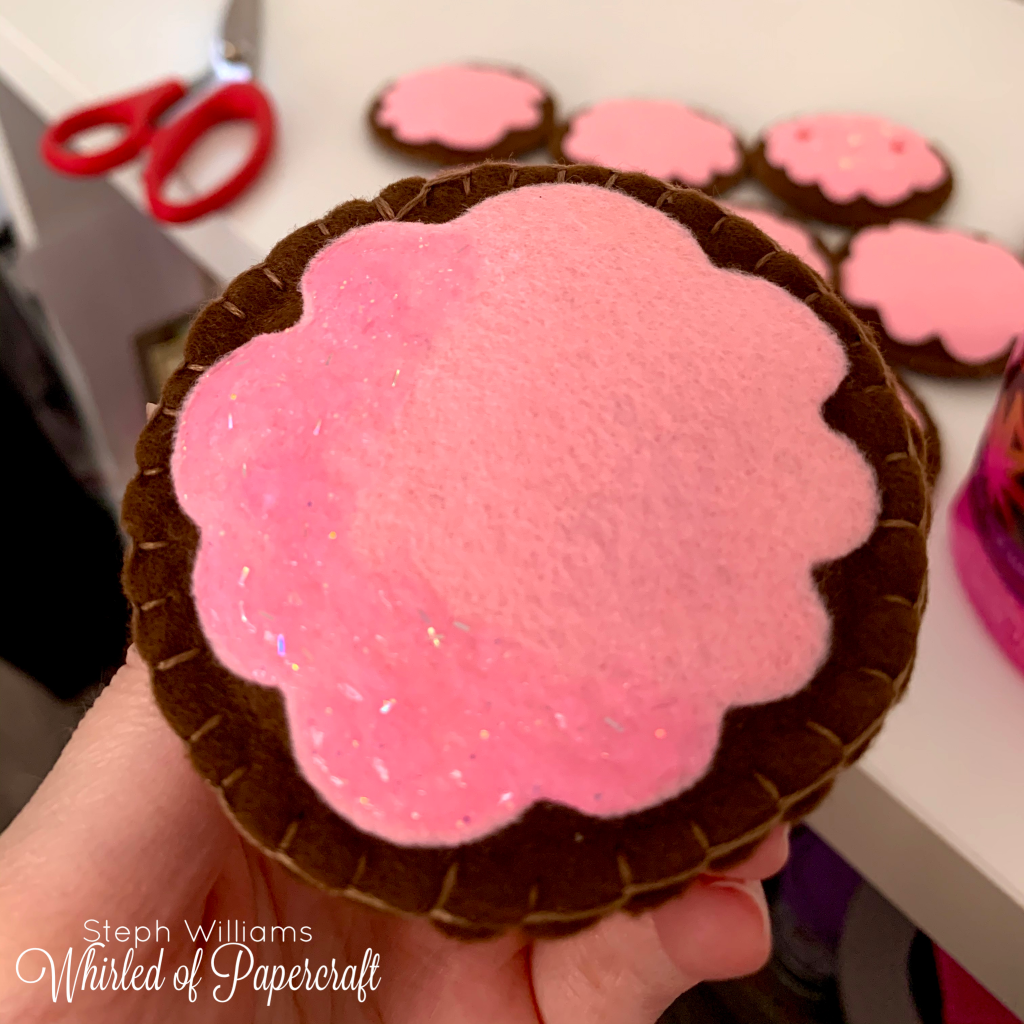
I used some PVA glue to stick the icing onto the cookies and just held them for a few seconds to keep the edges down.

Once the icing was on, I wanted to add a bit of sparkle to the top. I was originally considering my Nuvo drops but that stuff doesn’t come cheap for the amount I would need.
I found that I had half a bottle of bright pink, sparkly Elmer’s Glue leftover from one of my many Harry Potter crafts and went with that instead.
A quick sprinkle of some little hearts by “Dress My Craft” and our cookies were complete!
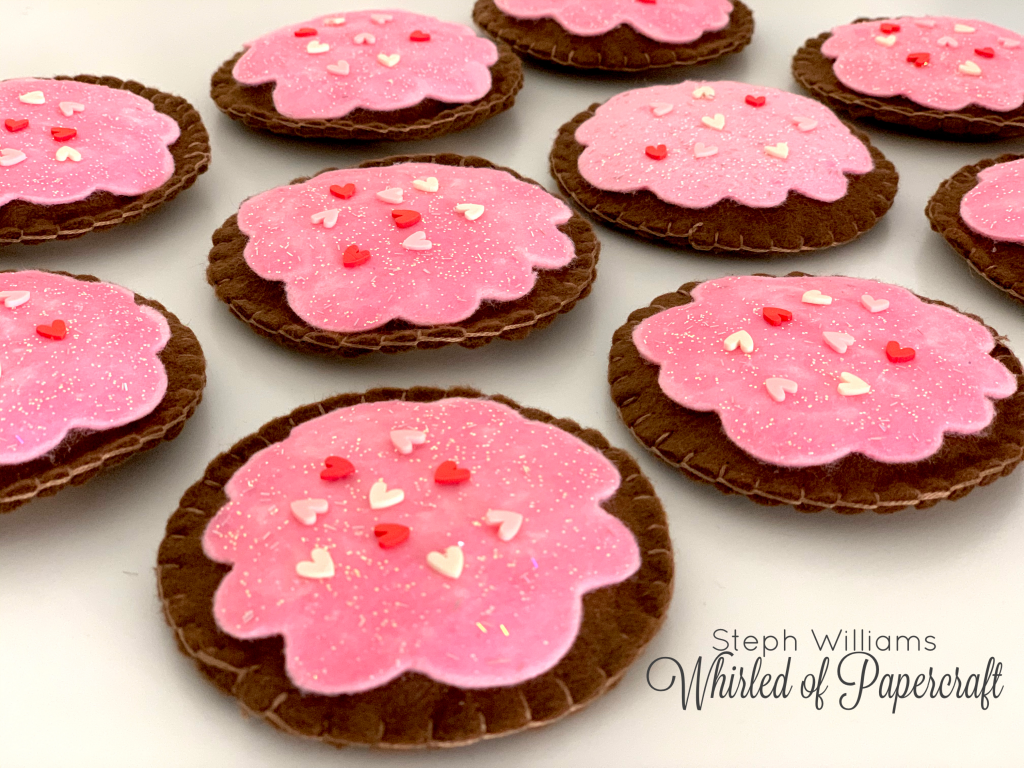
I’m really happy with how easy these were to create – especially since they are going to be played with be little hands for many years to come.
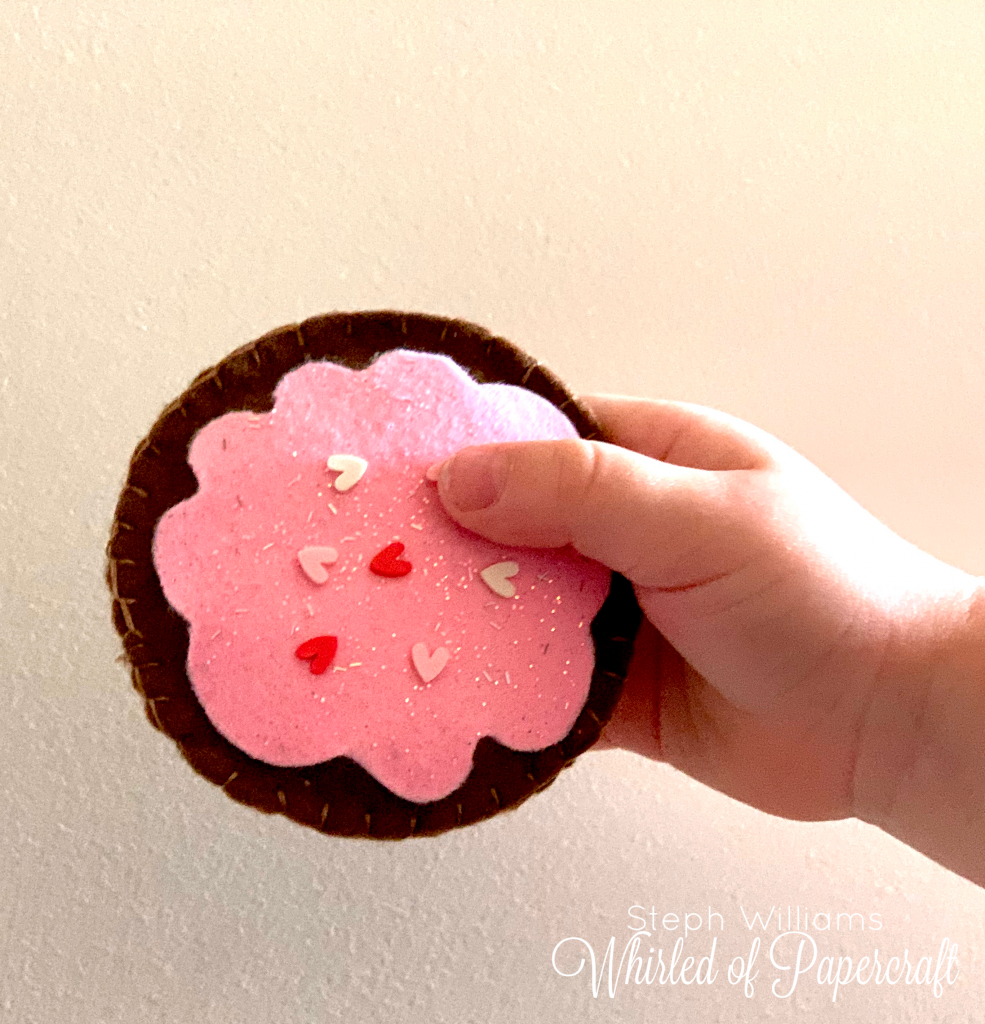
And for those wondering – my son LOVED them! As soon as he saw them he asked “Did you make them for me, Mummy?!” And since then I’ve been invited to more “picnics” than I can count!
Have you ever made anything for your kid’s or other children to play with? I feel so happy when my son mentions that I made them for him, or that he loves them!
Have you ever made anything from felt? I am always open to tips and ideas when working with unfamiliar mediums – or simply staring at the masterpieces you make yourself, hoping I’ll have skills comparable with yours someday!
Stay tuned for some more Valentine’s craft coming up!
