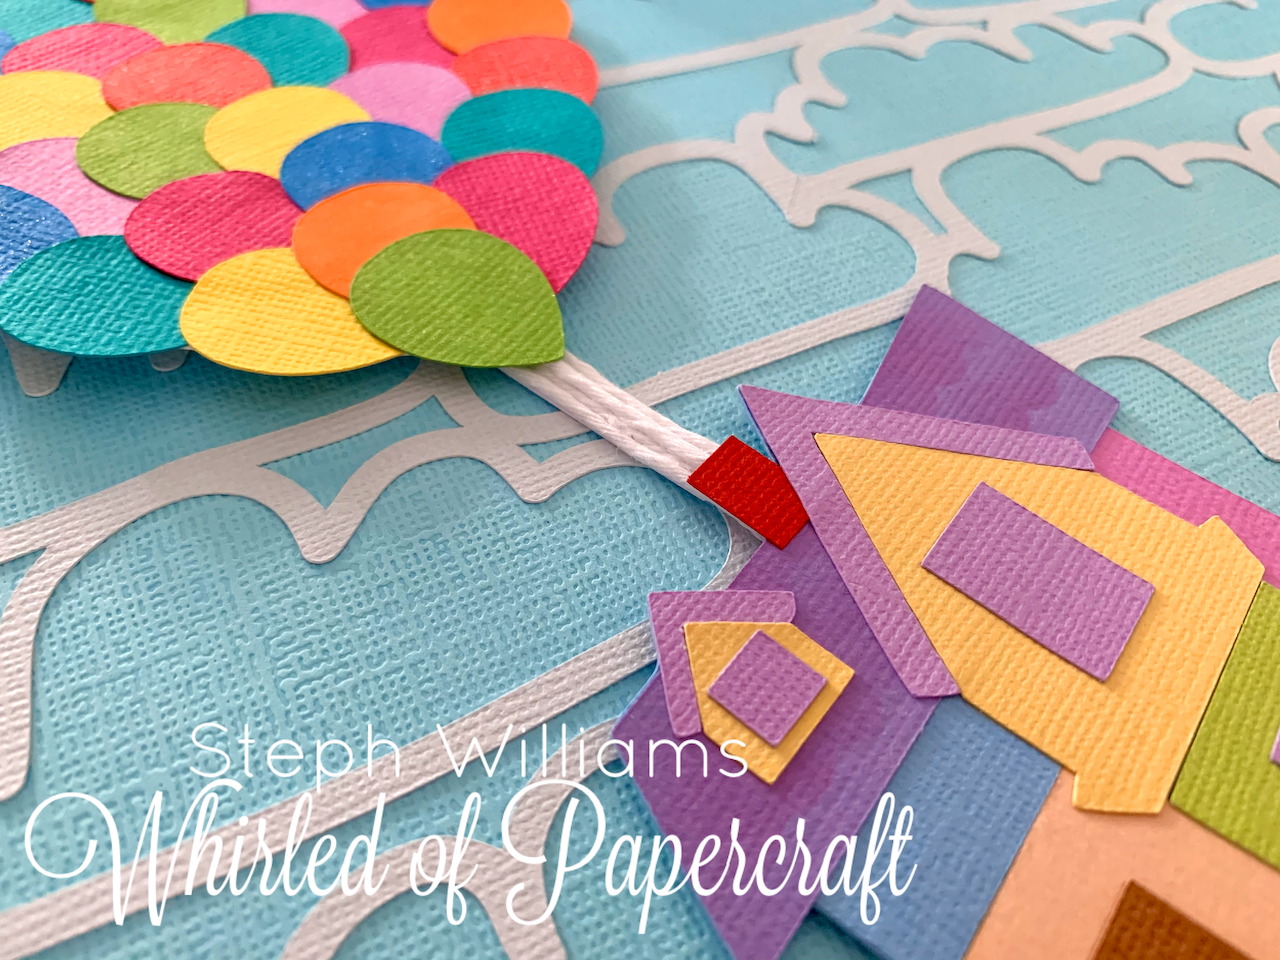
Happy New Year, Crafters!
I hope you’re having a wonderful start to 2020! Today I’ve had some time to get some crafting done – the perfect way to start a new year.
For those of you who have been following along, I have just over four weeks left until my baby is due (32 days until official evacuation notice is being issued).
Just over a month ago my husband suggested that we clear out the study and turn it into a space for our baby girl. SUPER exciting as we hadn’t really planned a space for her, but also stressful as I’m now so big I have my own gravitational pull, and I’m so tired I don’t get much done each day – but that hasn’t stopped me from trying to create a few things for her room!
I was recently watching one of my favourite crafters Amber Kemp-Gerstel (check her out on Instagram @damasklove) on Disney Family Sundays and saw a project that she made with the adorable house from the movie “Up”.
Being a HUGE Disney fan (our son’s room has lots of our souvenirs from our Disneyland trips) I had the perfect idea for some nursery decor the moment I saw that little house!
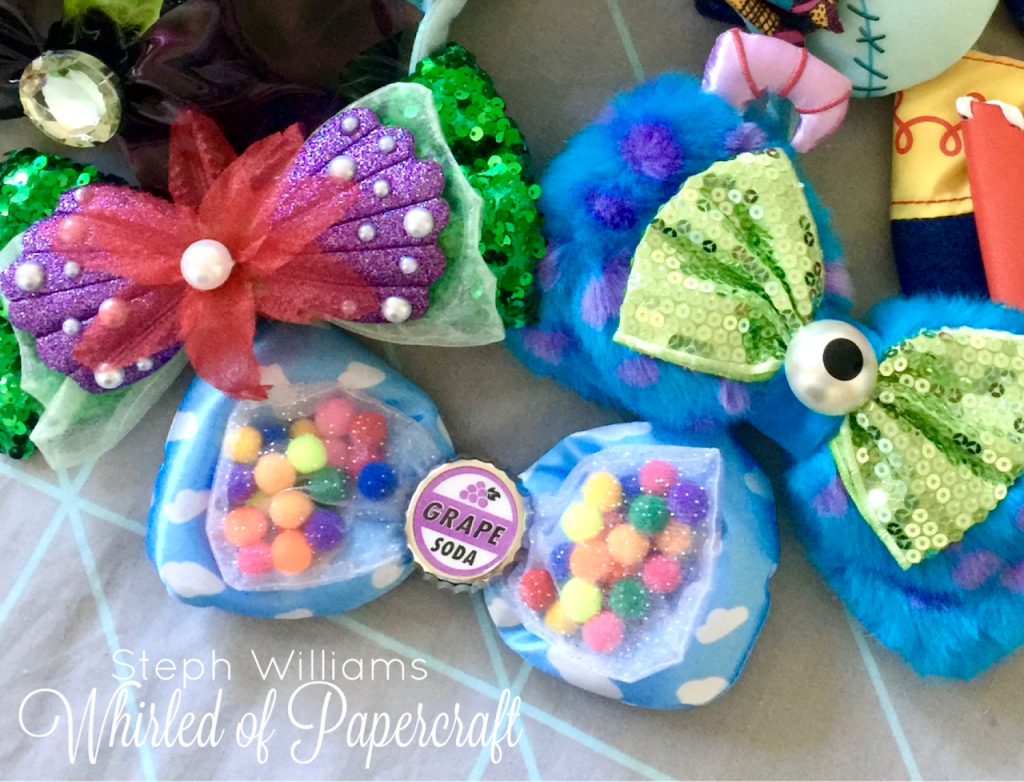
I grabbed this Up inspired bow (and a few others) from Disneyland and have had every intention of putting it into a shadow box, but it’s been hiding in a box under my bed since we returned as I haven’t had any ideas on how to best present it. Seeing that little house on Disney Family Sundays sparked an idea that got the ball rolling and I very quickly came up with a vision for this super cute bow!
I LOVE my Cricut Maker, you’ll see me mention it a lot. It’s like another baby in this house (noisy and I was scared of it at first!). Seeing the original template for the house was a printable that I would need to trace and cut was a bit unappealing as my hands quickly become tired and shaky when I do a lot of work with scissors, so I thought I’d push what little Cricut Design Space skills I have to turn the image into a cutfile so that my machine could do most of the work for me (I pretty much just had to be present to change the coloured cardstock sheets after each cut). Here is what my finished file looked like
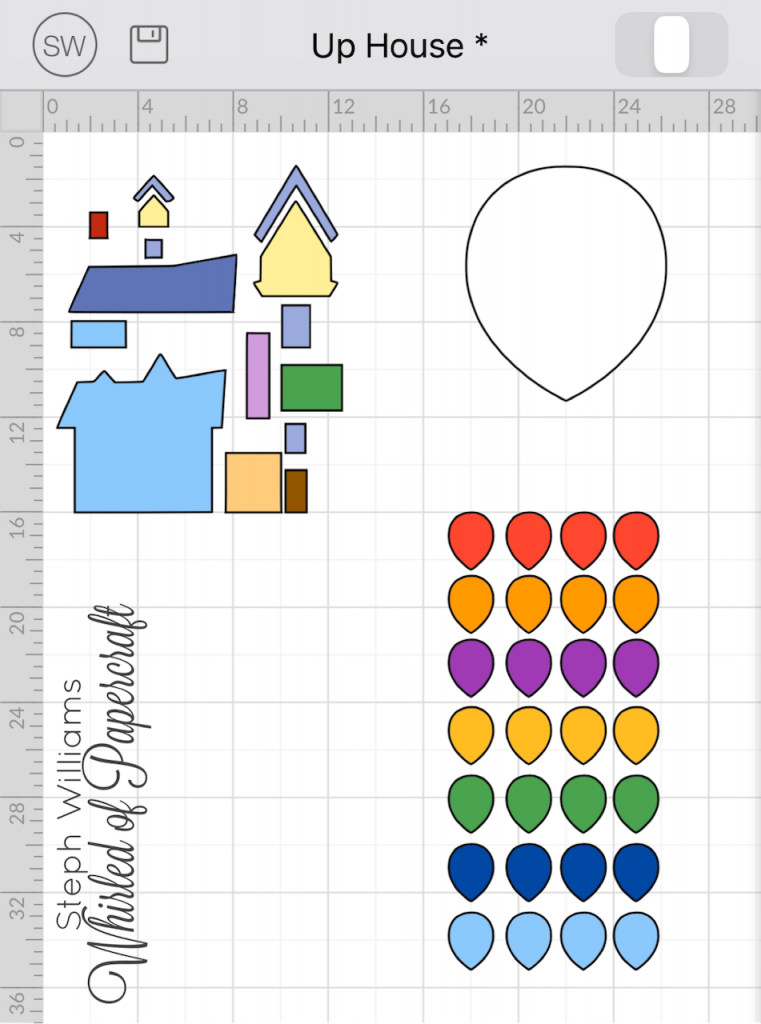
For the original template of the Up house that Disney provided for this project, here is the link: https://family.disney.com/wp-content/uploads/2019/12/Up-Stencil.pdf
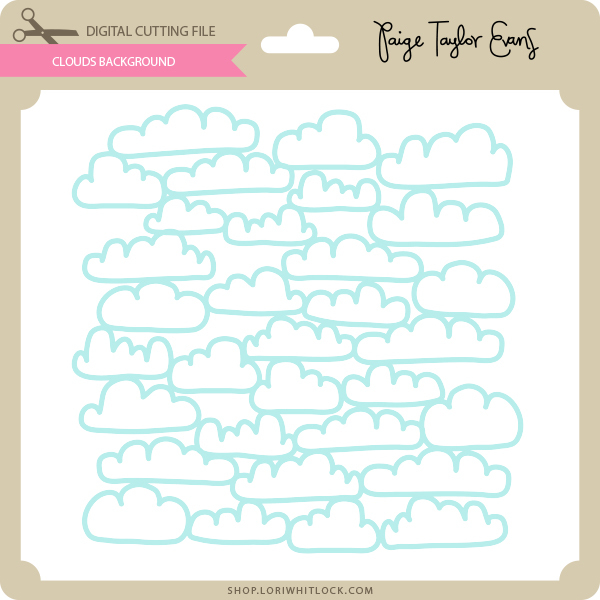
After lots of playing around with the positioning of the little balloons, deciding on which colours worked best for the house and what quote from the movie I would like to have as part of this project, I realised that something was missing and that this work needed some kind of subtle background to tie it all together. I headed straight for my favourite place to purchase SVGs – https://shop.loriwhitlock.com/ and picked a cloud background created by Paige Taylor Evans. Here is and image of the cutfile and a link directly to this file: https://shop.loriwhitlock.com/clouds-background/
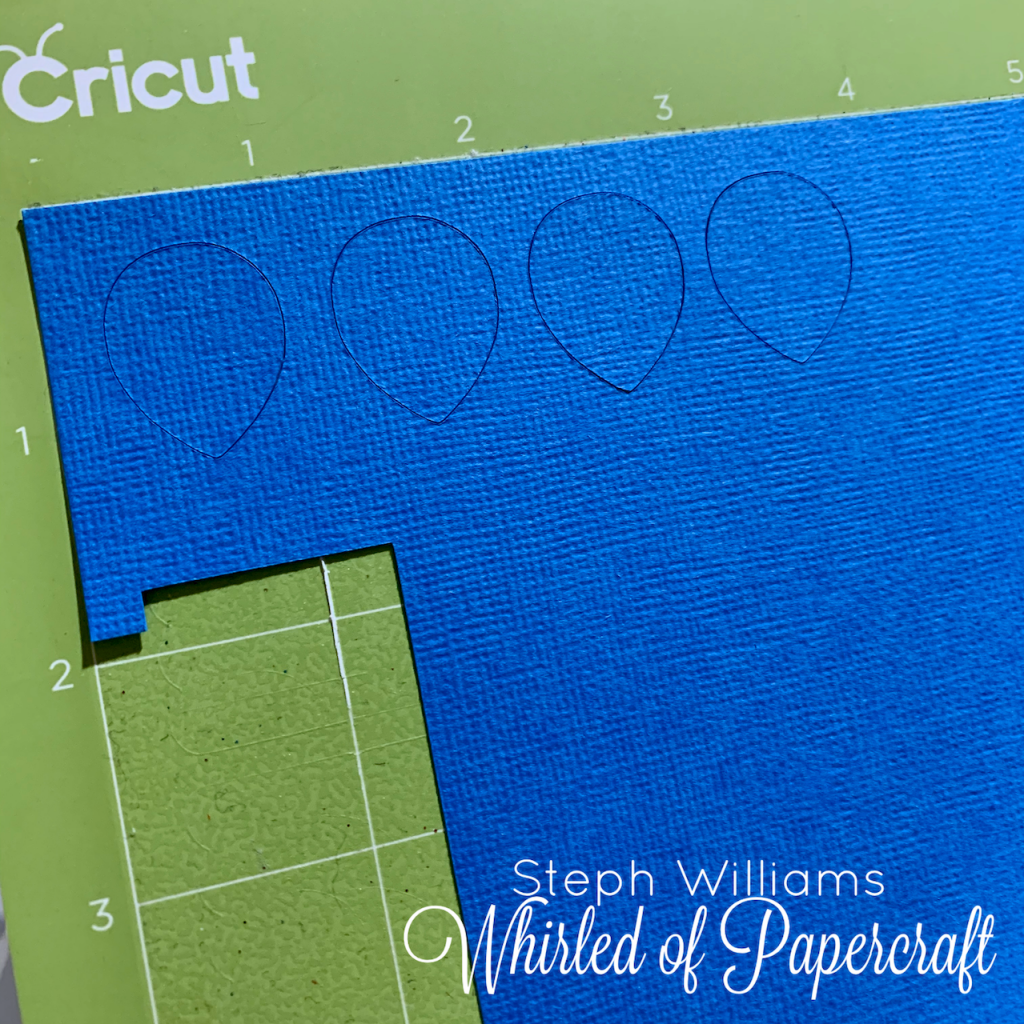
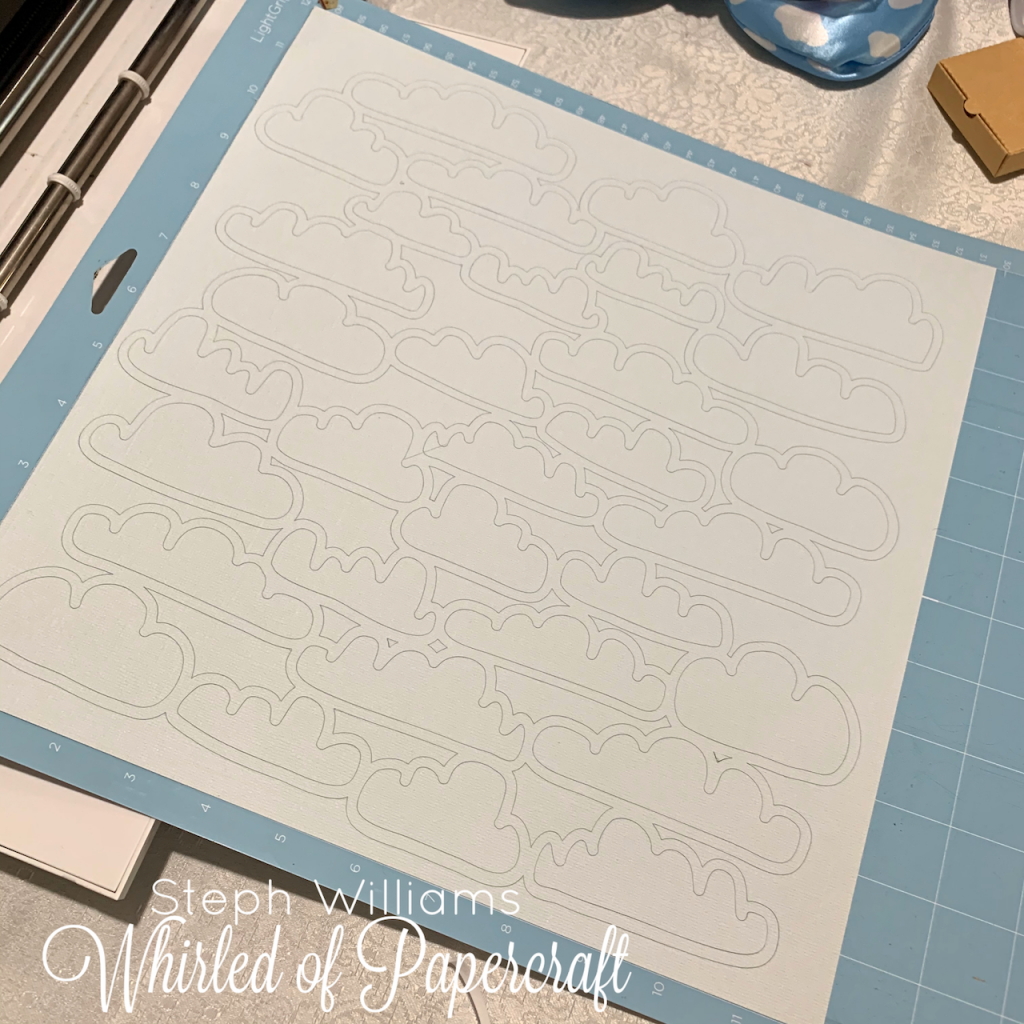
As always, my Cricut made super quick work of this file – it was perfect!
After picking my cloud background, it was a matter of deciding which blue cardstock for the sky looked best. The lightest one seemed to be the way to go as the house and balloons seemed to get “lost” in the others.
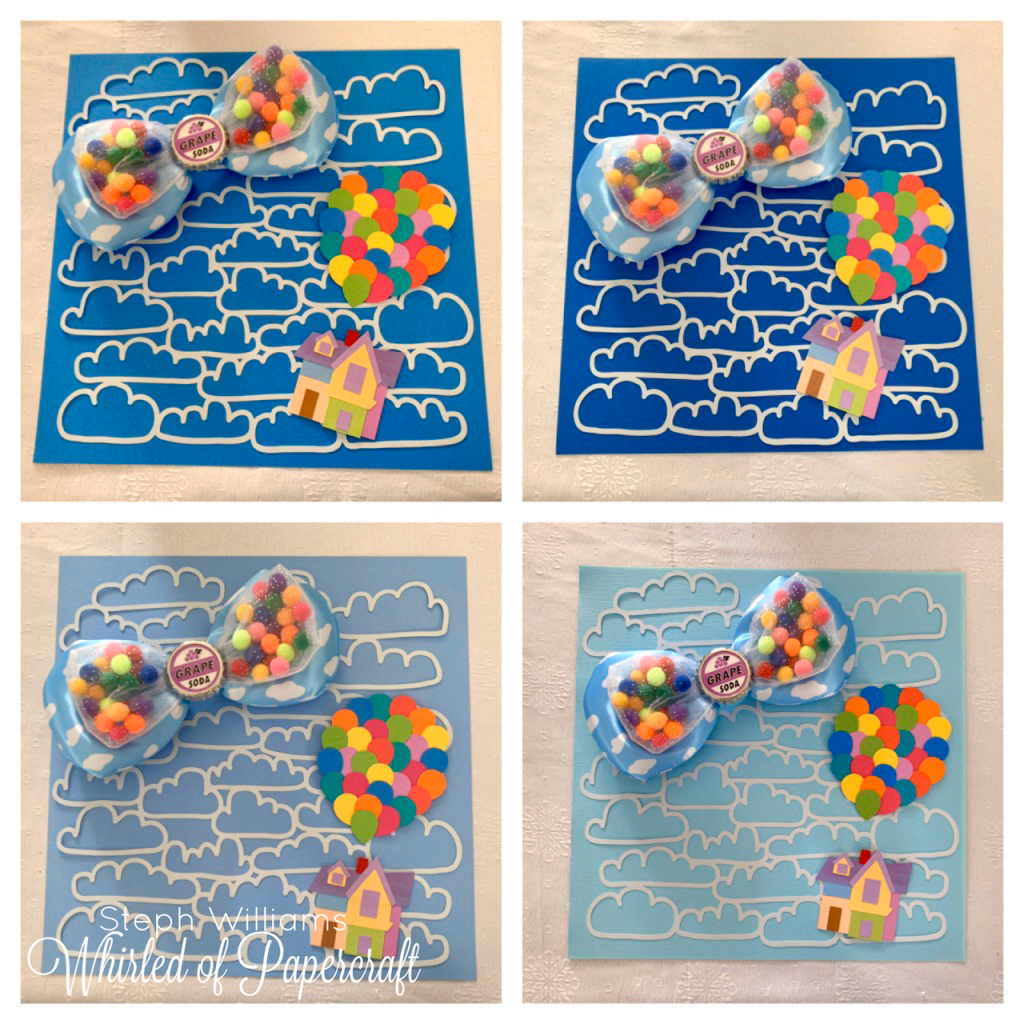
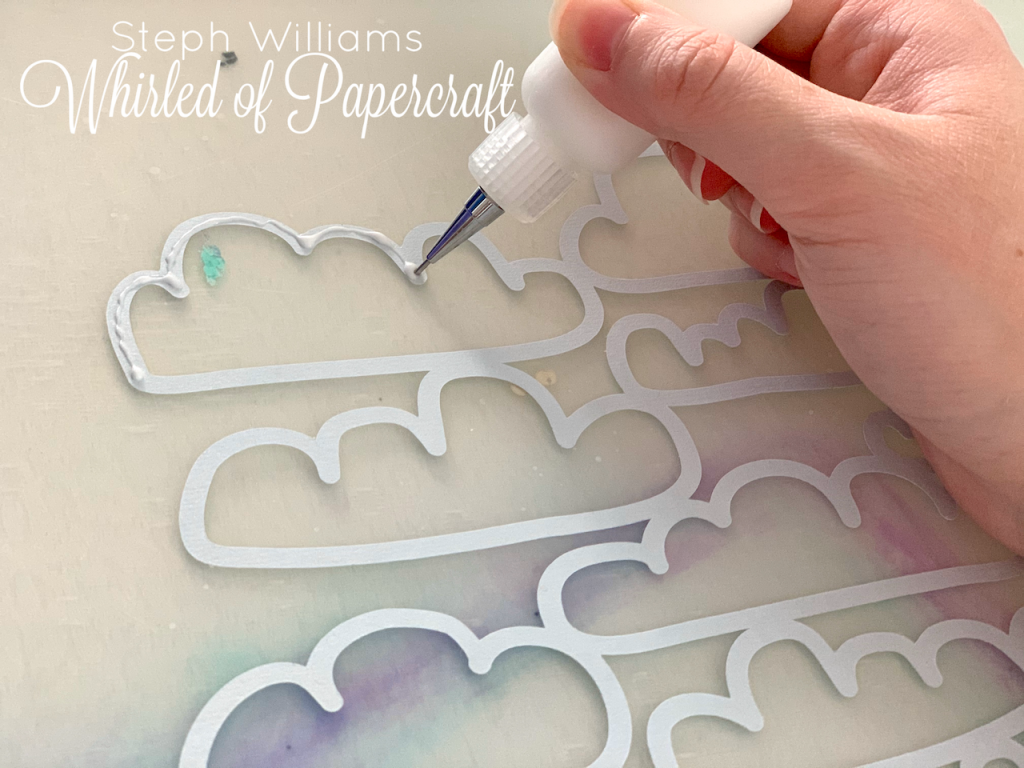
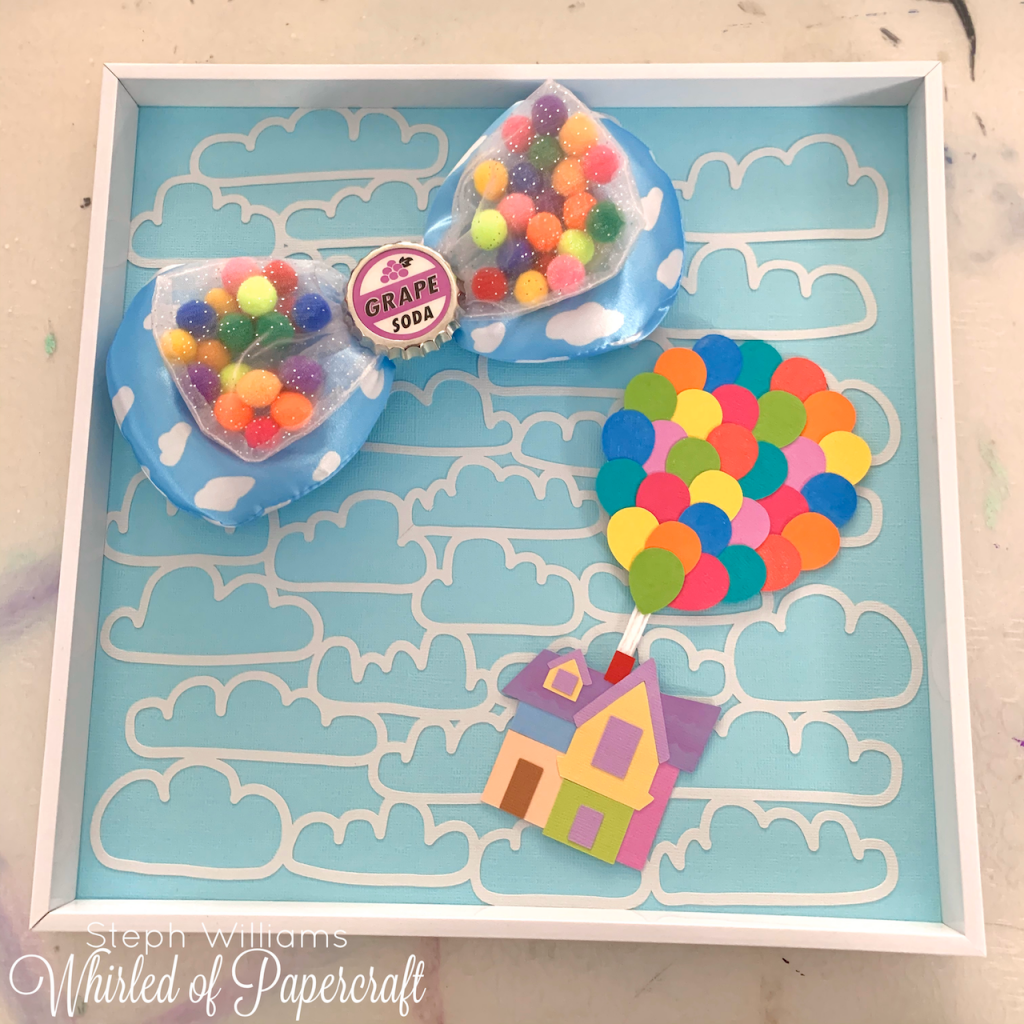
At this point I was totally loving how it was all coming together – but I still needed a quote to fill up some of the space and a good font to match the theme.
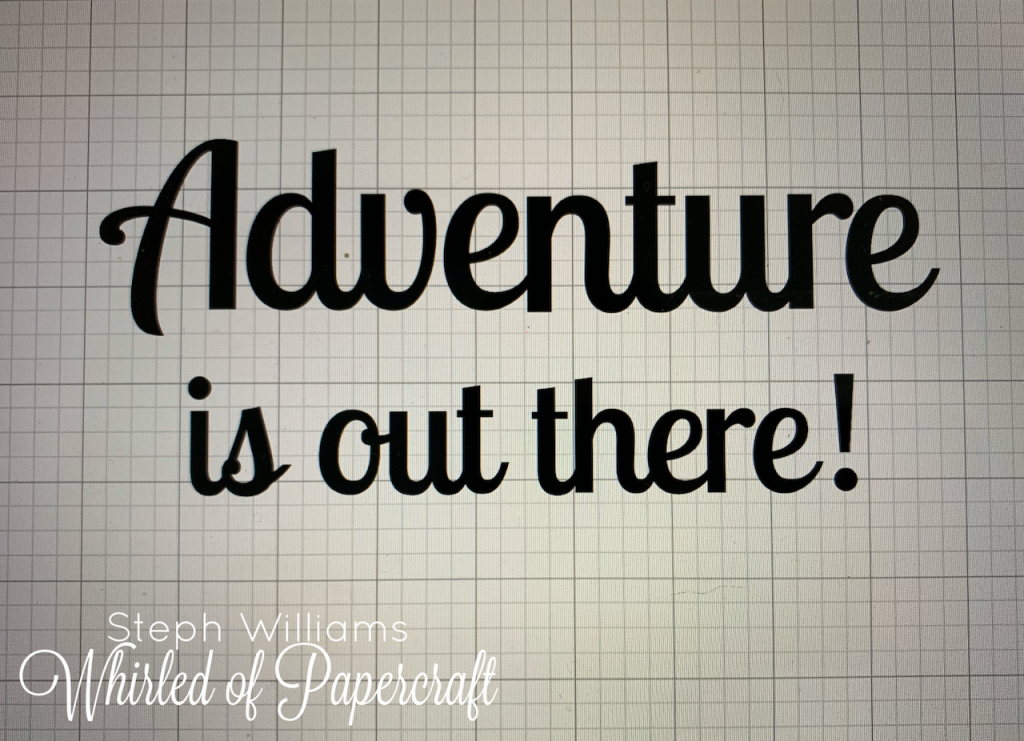
As this project is being used to decorate my own home, I searched through websites for a free font and found this one:
https://www.fontspace.com/pablo-impallari/lobster-two
I put the font into Design Space so that I could cut it out of vinyl to stick to the glass of the shadow box.
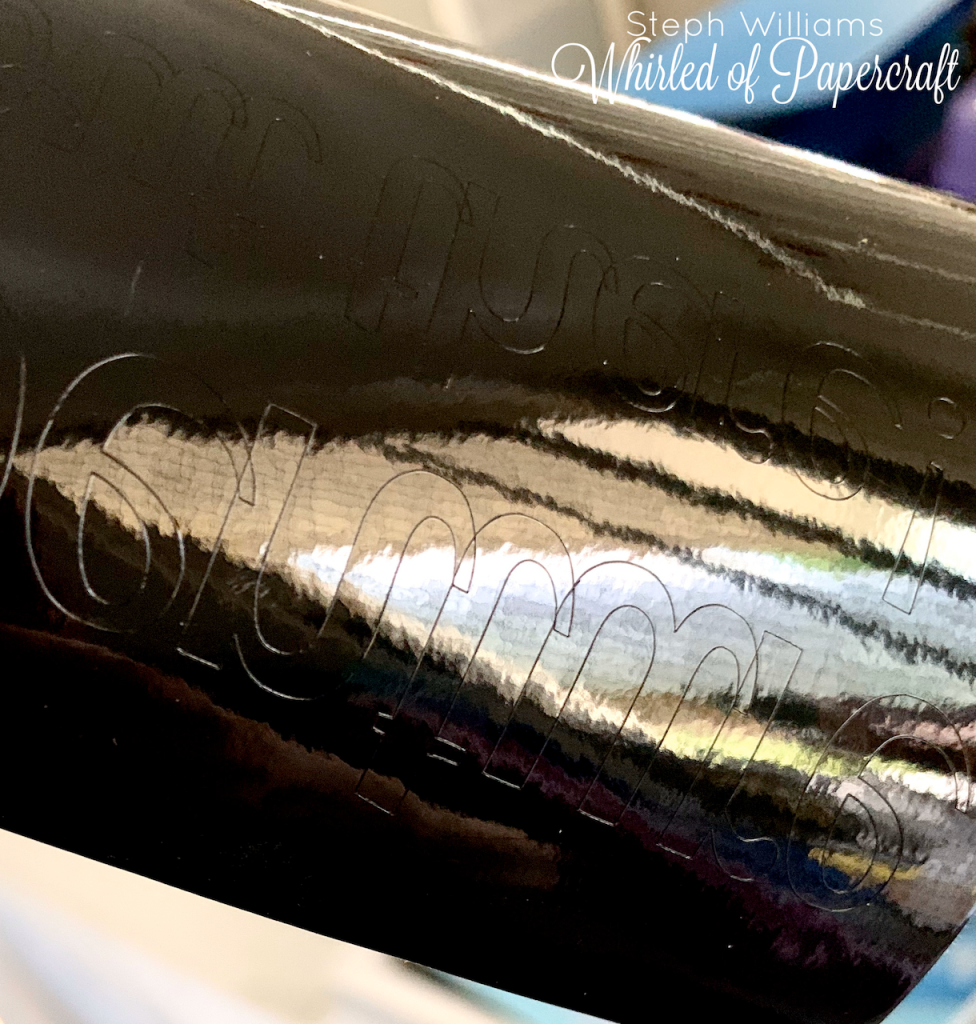
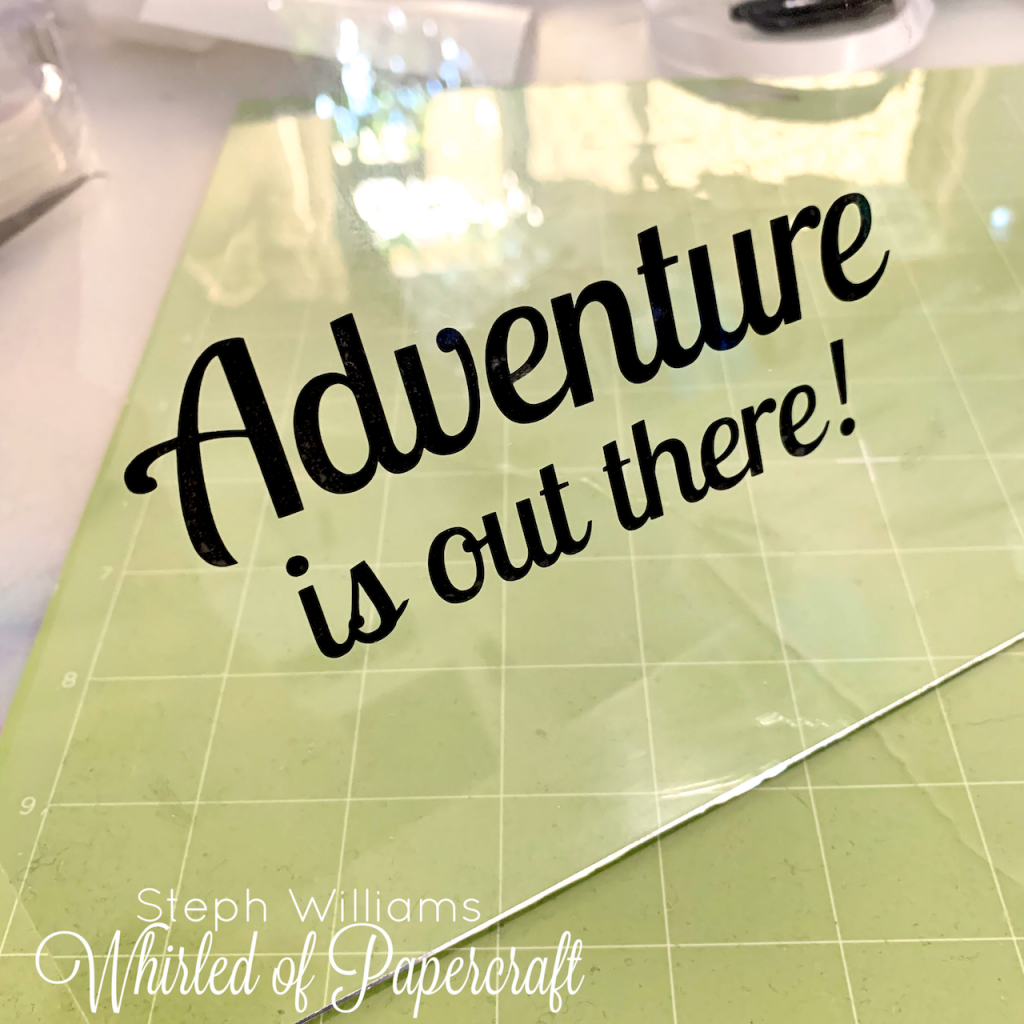
I then started the machine and made one of the biggest mistakes and most annoying mistakes I’ve come across when working with lettering!
This photo isn’t the greatest, but you can see where I’ve overlapped my letters to make the word appear as though it has been written in cursive. Although I could still definitely go ahead and use this, all of those tiny cuts would be visible to the trained eye and could have been difficult to weed (they are so small they could easily become lost) or be challenging during transferring from the vinyl backing, to clear contact, to the glass.
I REALLY hate being wasteful with craft materials, it truly upsets me. So deciding to scrap this piece and start the cut again with the letters being ‘Welded” correctly was a tough one.
Don’t forget to WELD! It looks so much more professional in your final pieces and is super quick and easy – it’s just one click (you just need to remember to actually click!)
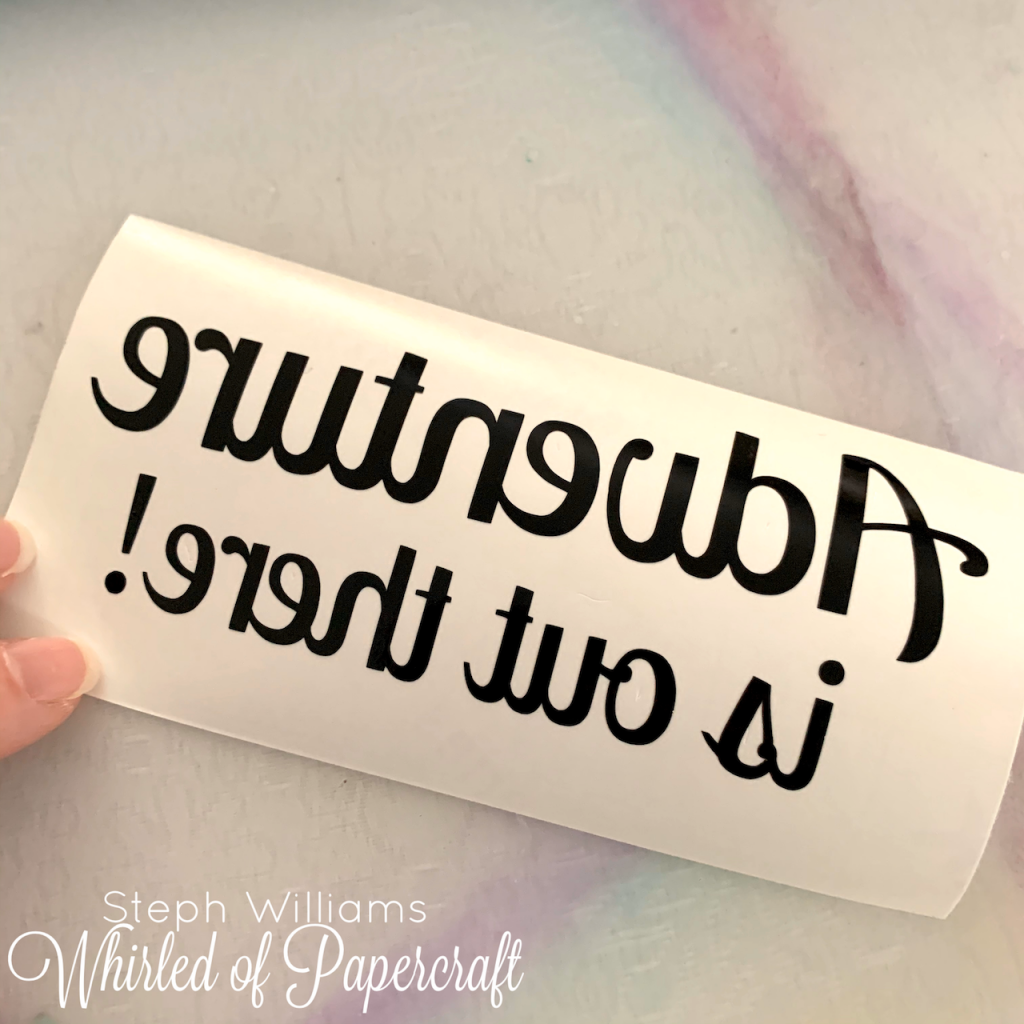
Here is the vinyl cut correctly, my letters welded together, everything looking smooth and how I’d hoped. i decided to “Mirror” this cut so that I could stick the vinyl on the inside of the glass, facing outwards. I’d never done this before but it was no extra work and looks great!
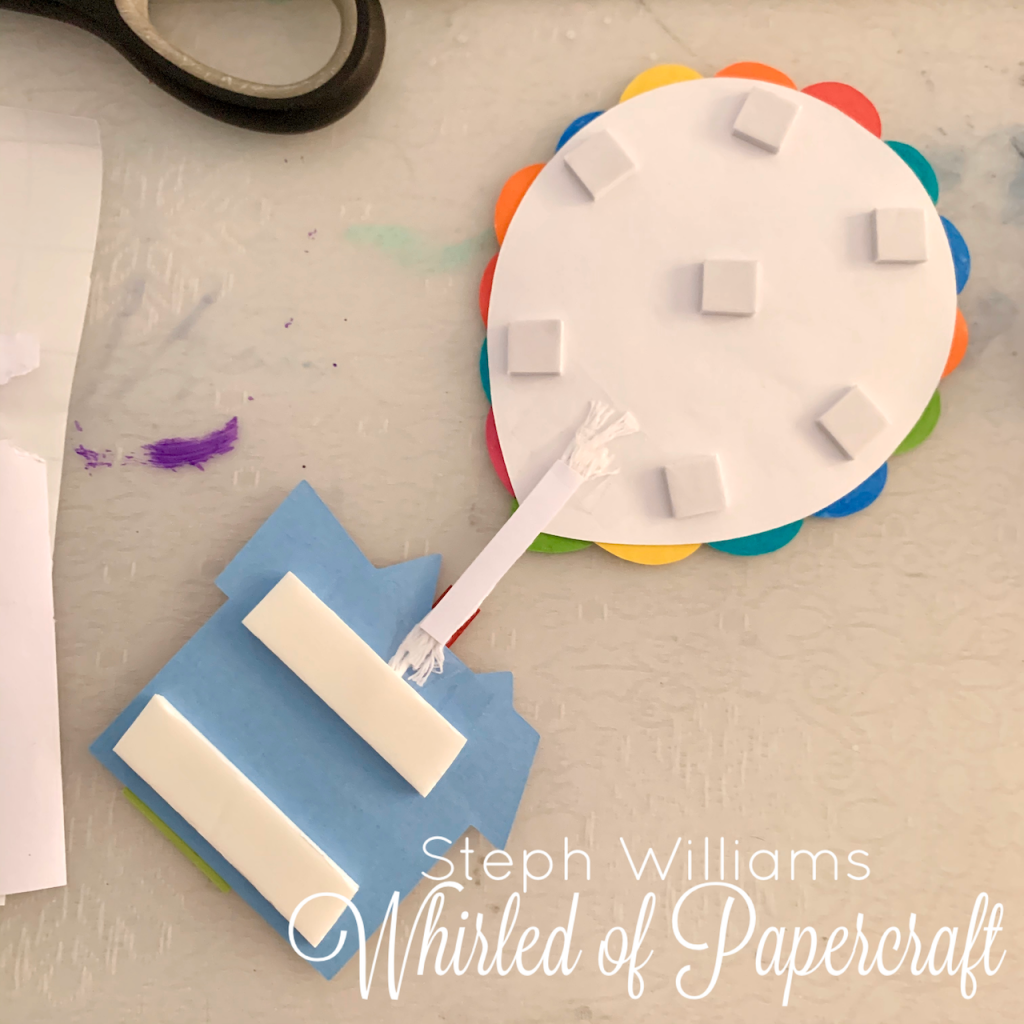
With the house ready to go with double sided foam tape on the back to give it some more dimension, it was now a matter of putting it all together to get the final piece!
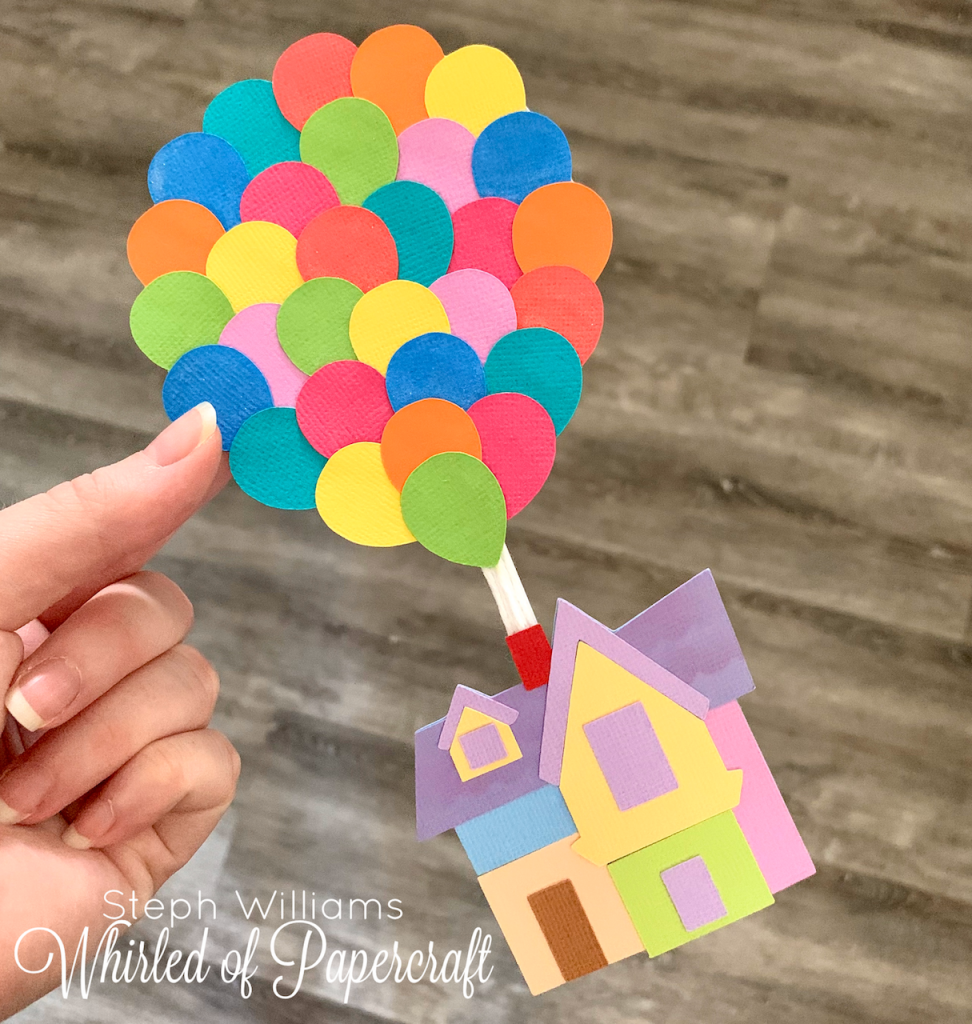
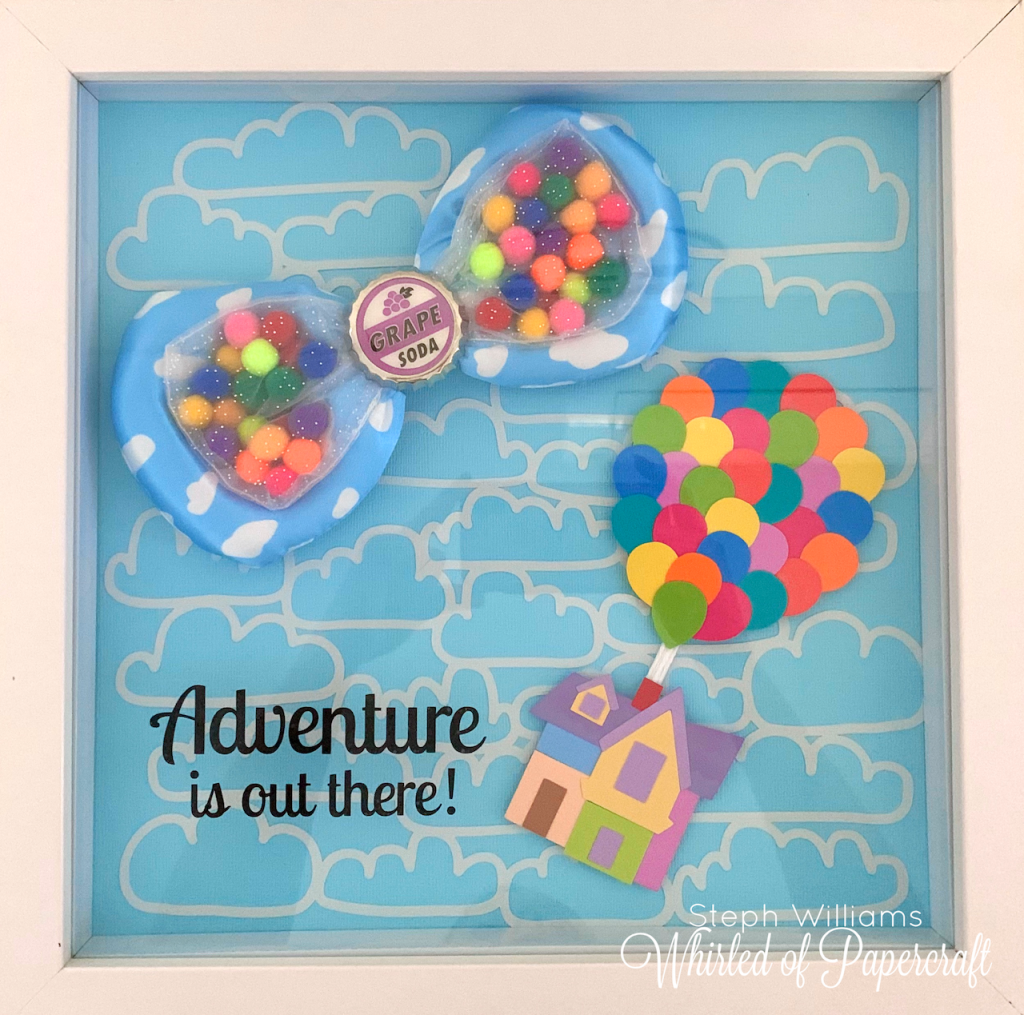
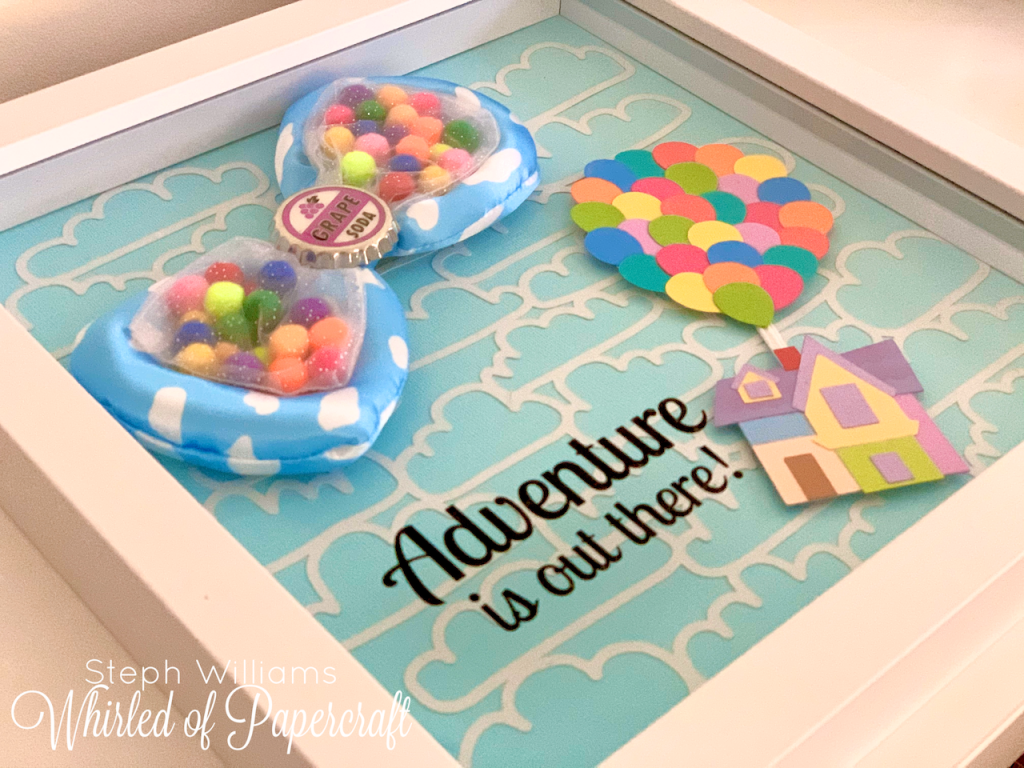
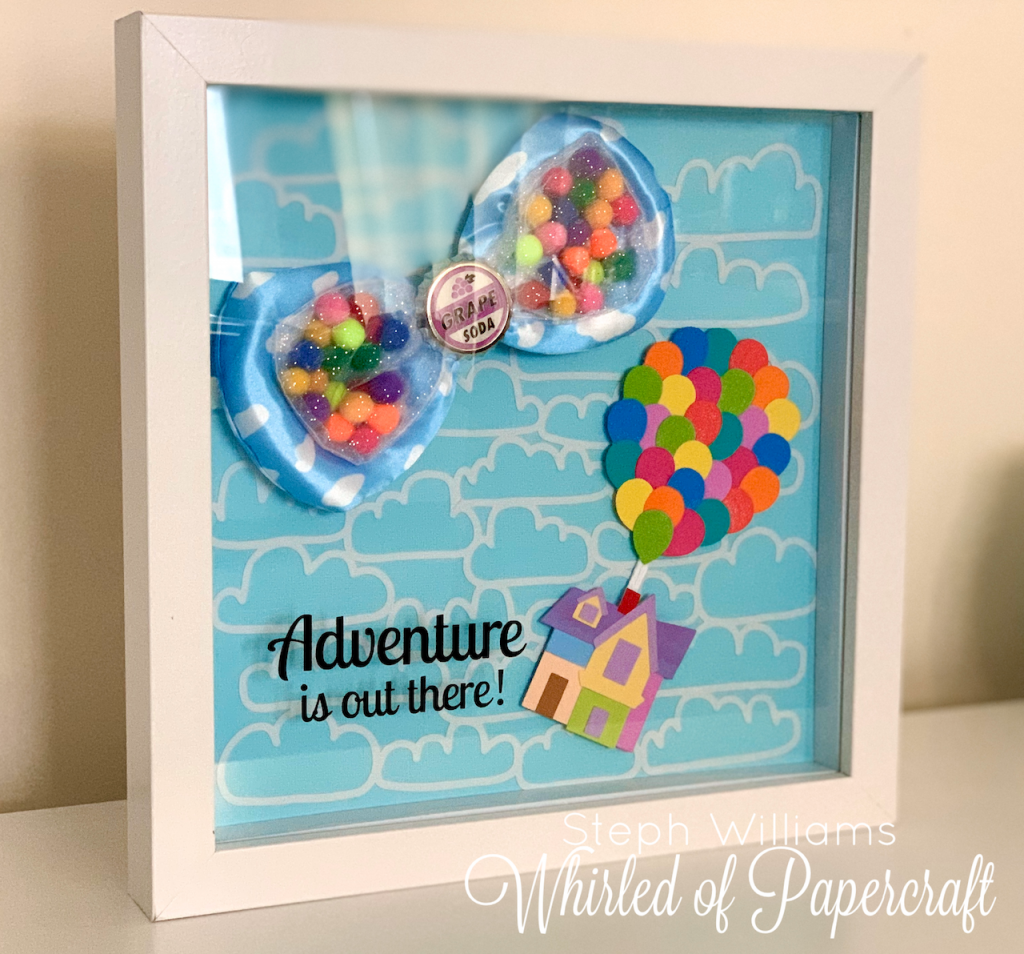
Excuse the glare and my reflections – working on my photography skills is something I plan on doing this year. But for now – this is the end result! I am very excited to hang it in our daughters room and can’t wait to do more shadow boxes with the other bows and Disney souvenirs!
What craft projects do you have planned for this year?
Are you planning on making more time for yourself to be creative in 2020?
