Hello!
This week I have been working on some cute little extras for an event that Mum and I are hosting on the 1st of December – a Christmas Treat Exchange!
Cookie Exchanges – you’ve seen one, you’ve seen them all, right? Well as an Aussie I can say we are WAY behind and not nearly enough people know about these parties! So hopefully this one will be a little different for you.
I only learned about this a few months ago and it’s truly something Mum and I would have been doing for years had we had more of an idea what they are about. So we’re giving our very first one a go in a matter of weeks.
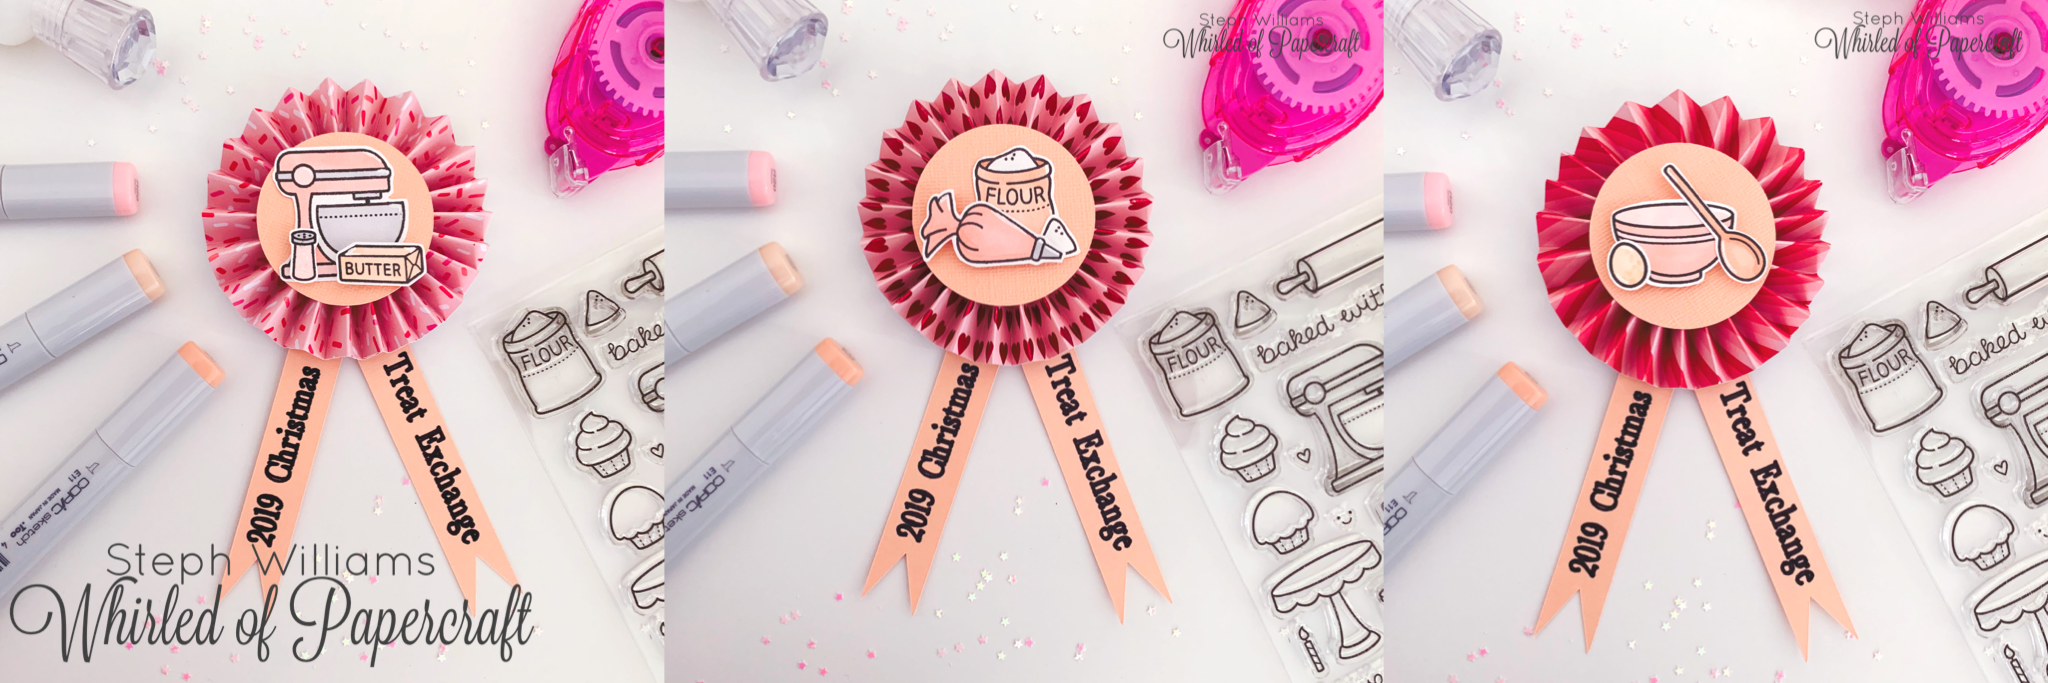
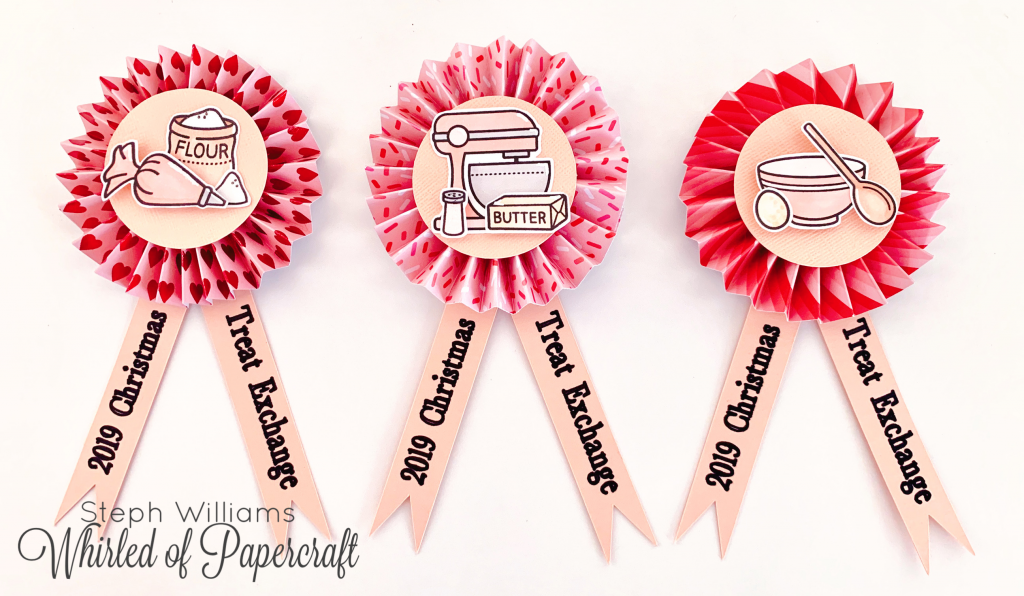
So here is what I’m sharing with you today – Christmas Treat Exchange Ribbons!
I’m all about the souvenir when it comes to parties (I’ve kept all place cards from every wedding hubby and I have been to). When people come to my events, I like them to leave with a cute reminder of the experience! These ribbons will be given to all of our attendees. I’m hoping in years to come we’ll throw more Treat Exchanges (a great excuse to create different ribbons in the future).
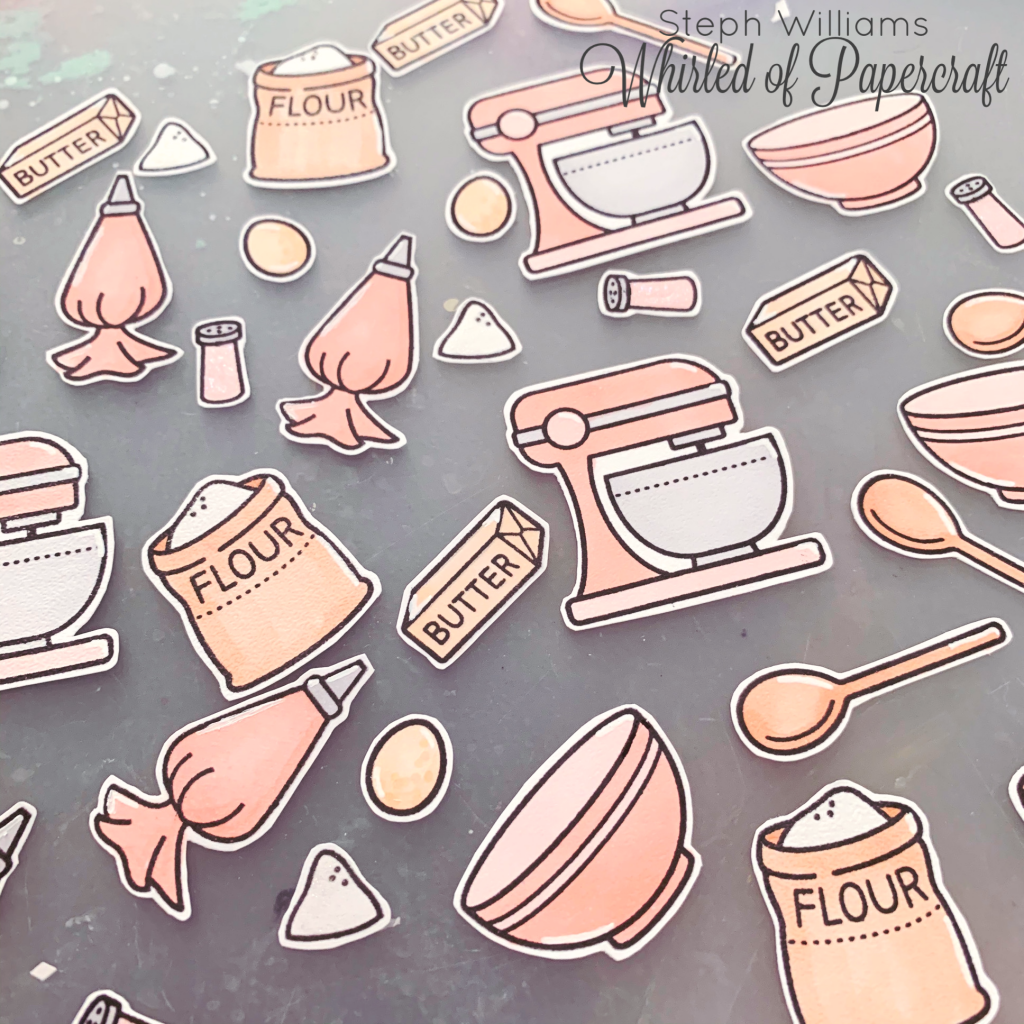
Starting with one of my new favourite Lawn Fawn stamp sets “Baked With Love”, I prepared a whole bunch of images by stamping and cutting them out by hand (my Scan & Cut and I are currently not on speaking terms).
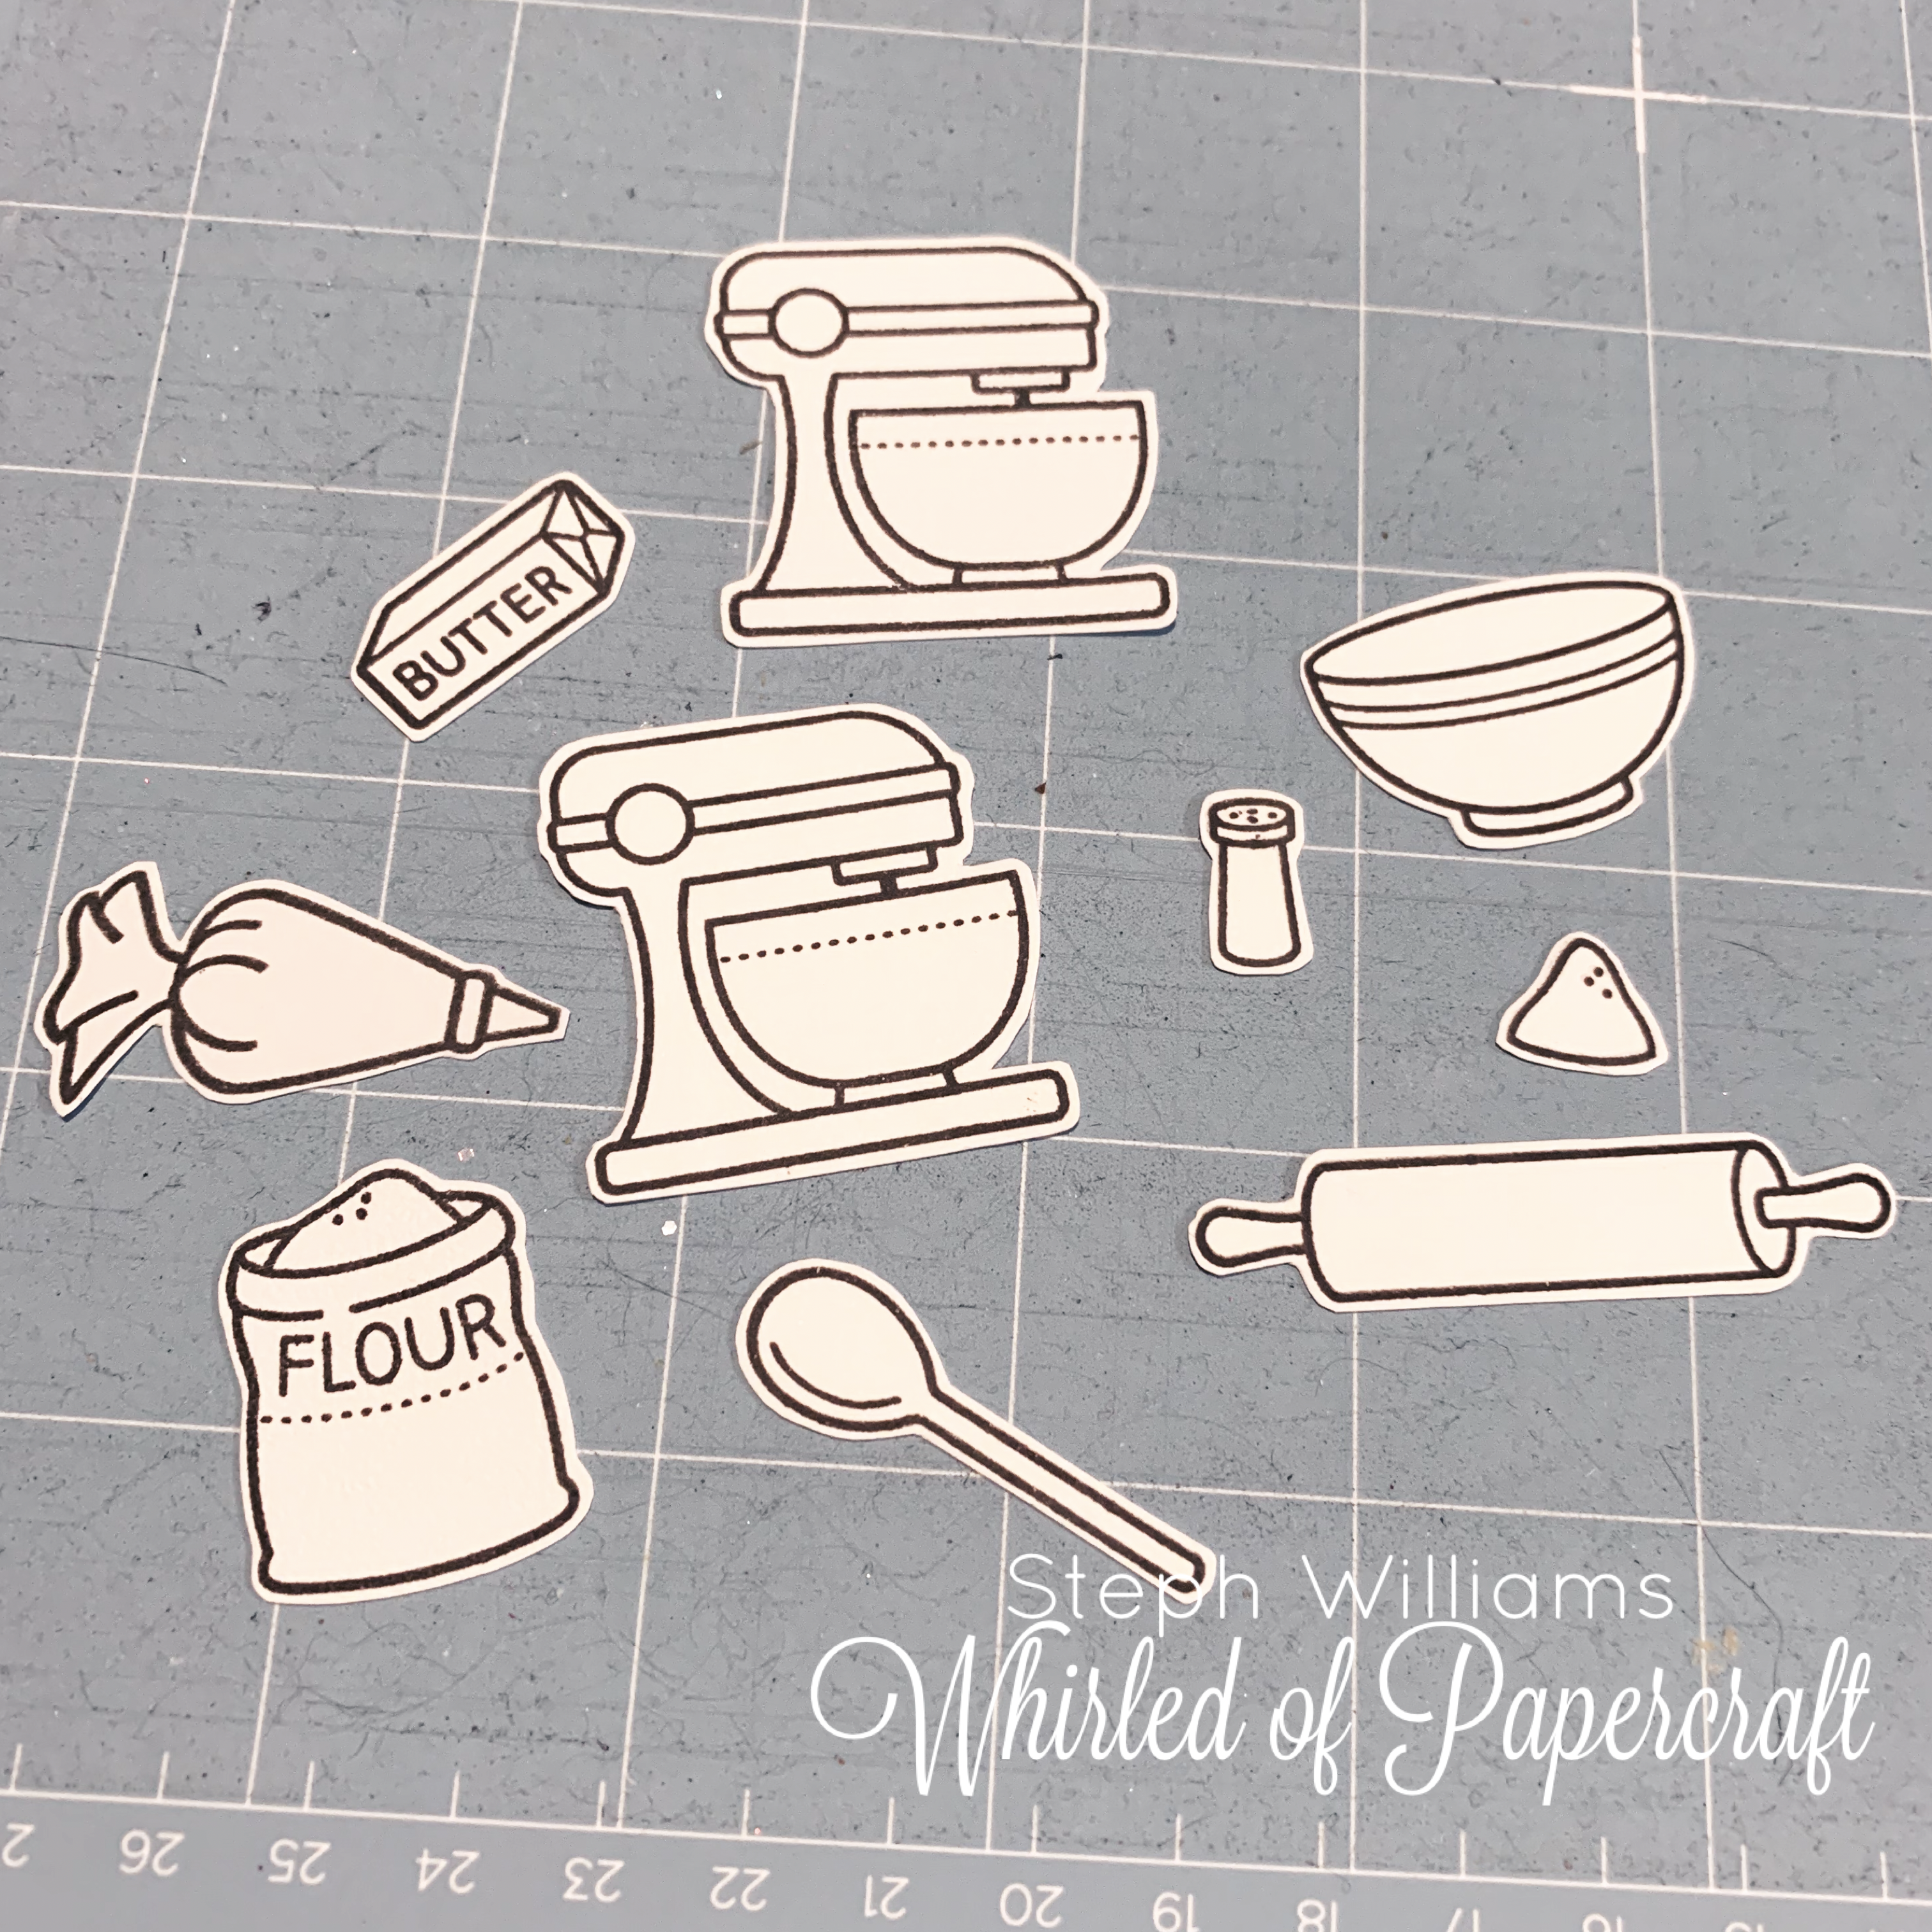
Pro tip – using a Cricut (or something similar) mat to hold your images in place while colouring keeps them from slipping around or having to hold them in place.
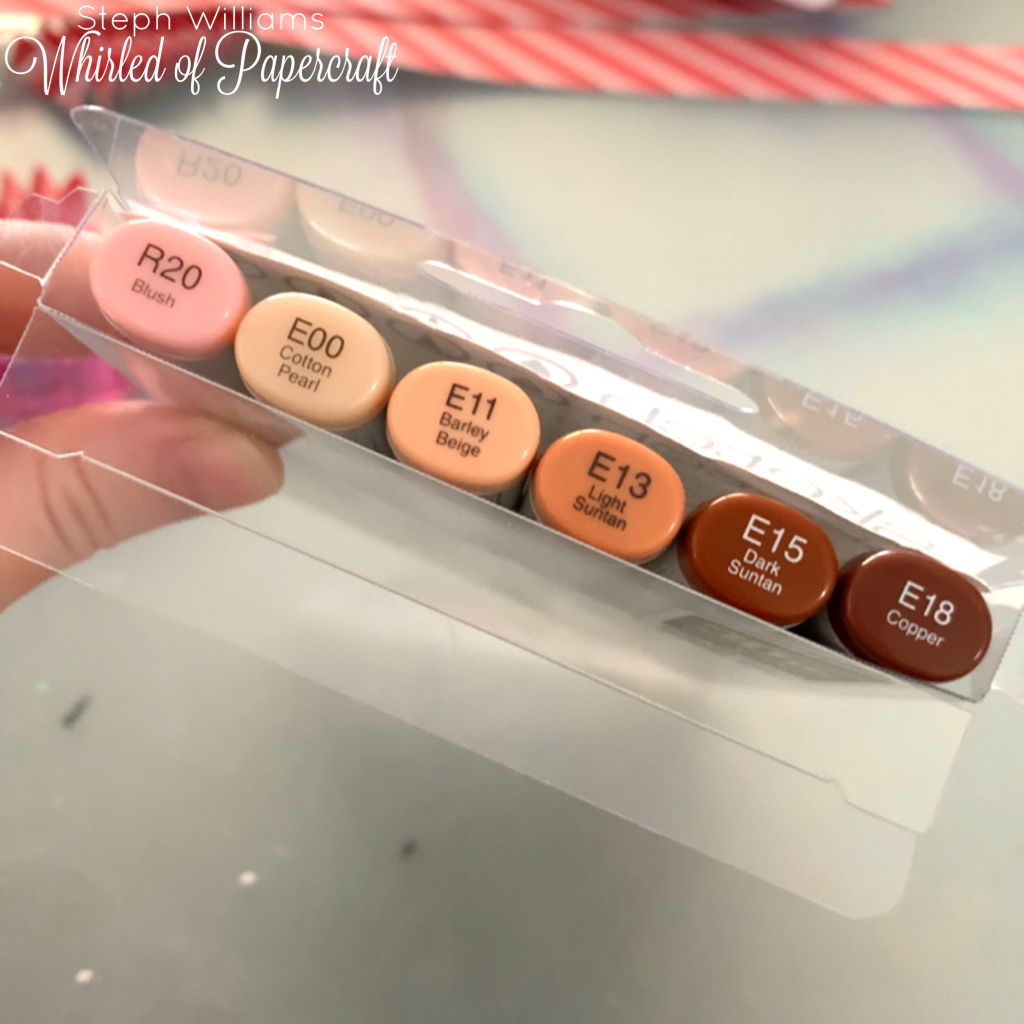
I then used the only set of Copic Markers that I own (and a couple of my cheap but trusty alcohol markers) to colour the images. For the first time in any project that I’ve worked on, I managed to pick AND stick to a colour scheme. I just can’t help but add an overwhelming rainbow of colour to everything I touch, so this was challenging but truly paid off!
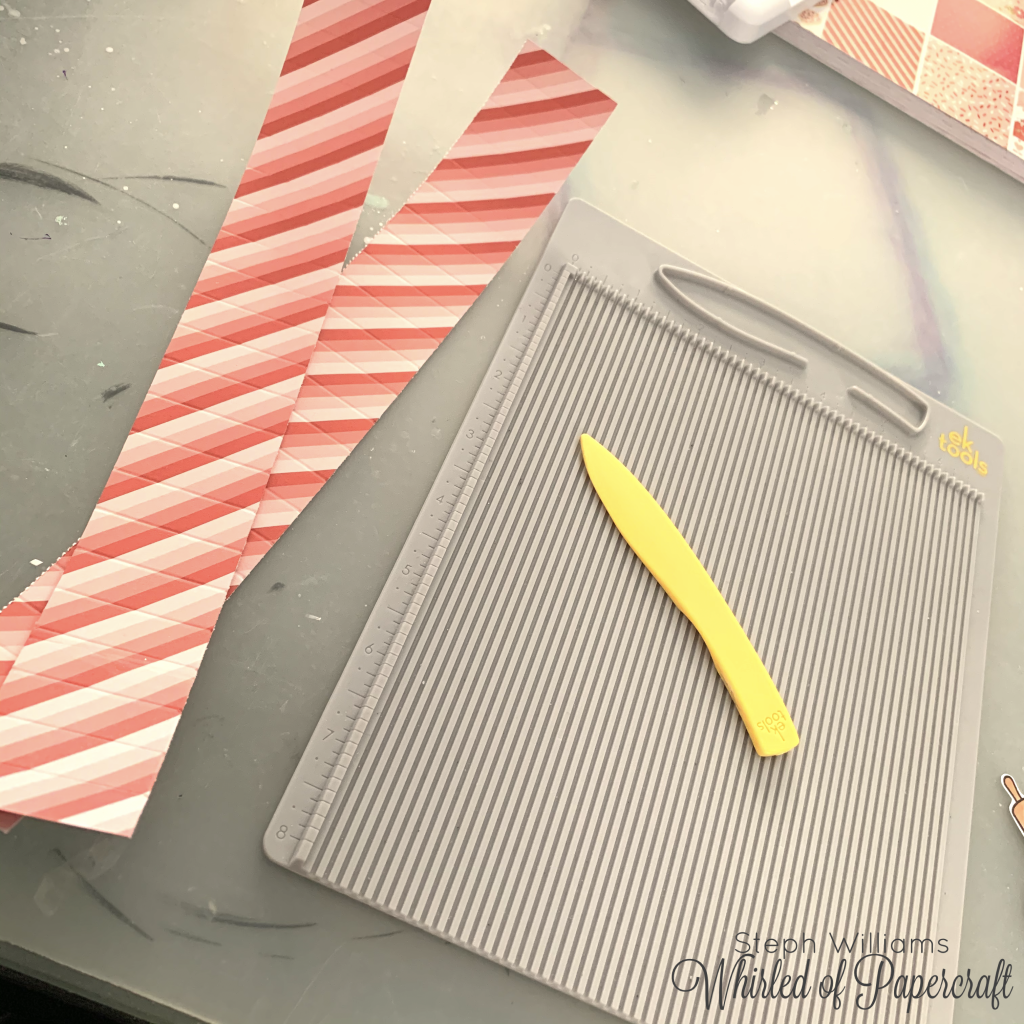
Next was the rosette/frilly part of the ribbon. I used a Pebbles Paper pad from Valentines Day as the colours seemed to compliment the coloured images well.

I used inches to measure these as it was easier to read on my score board.
I cut 1.5inches by 12inches for these strips, I needed two strips in the same pattern per ribbon.
Each of these strips was then scored in 0.5inch increments and folded back and forth like you would a paper fan, starting in the opposite direction for each of the two strips used. The ends were stuck together with double-sided tape and the paper was flattened out to make the “rosette” shape.
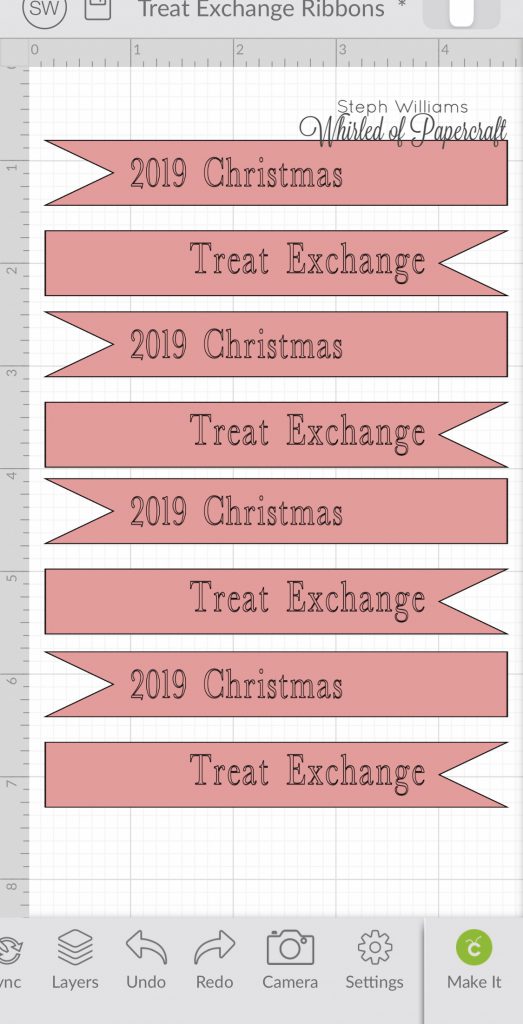
I’m quite familiar with the Cricut Design Space, so this next step didn’t take too much time. I wanted the ribbons to have nice, neat writing on them and to be cut evenly, my Cricut is much more capable of that than my hands, so I whipped this up.
Once the Cricut had done its job, it was just a matter of assembling a few pieces and picking which of the images worked best together. A bit of foam tape gave the little scenes some much needed dimension!
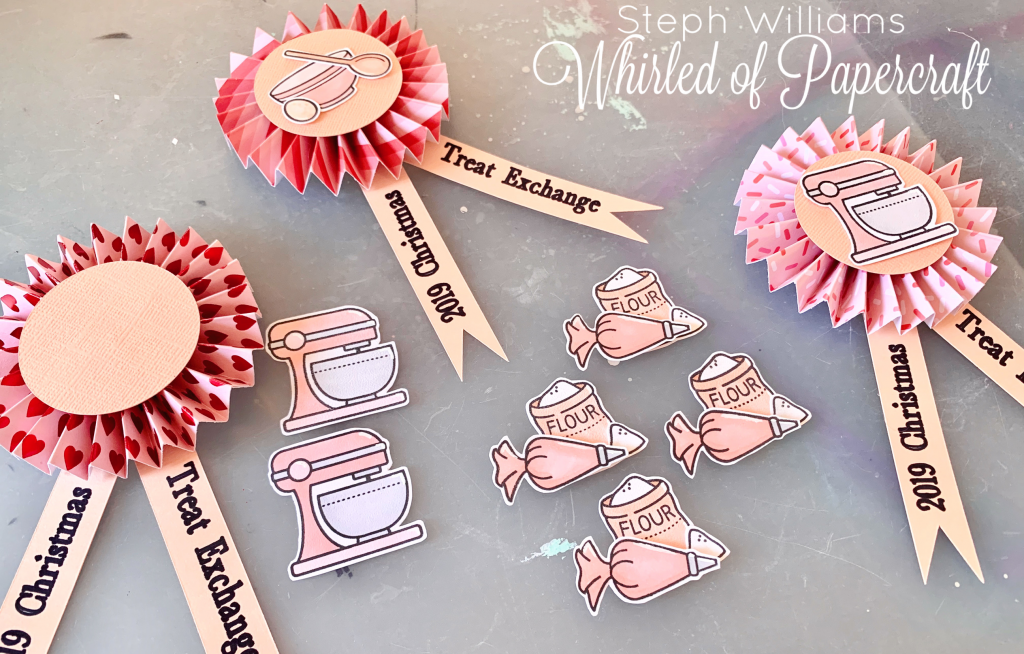
I hot glued a “crocodile clip” to the back of each of them so that they can be attached to clothing.
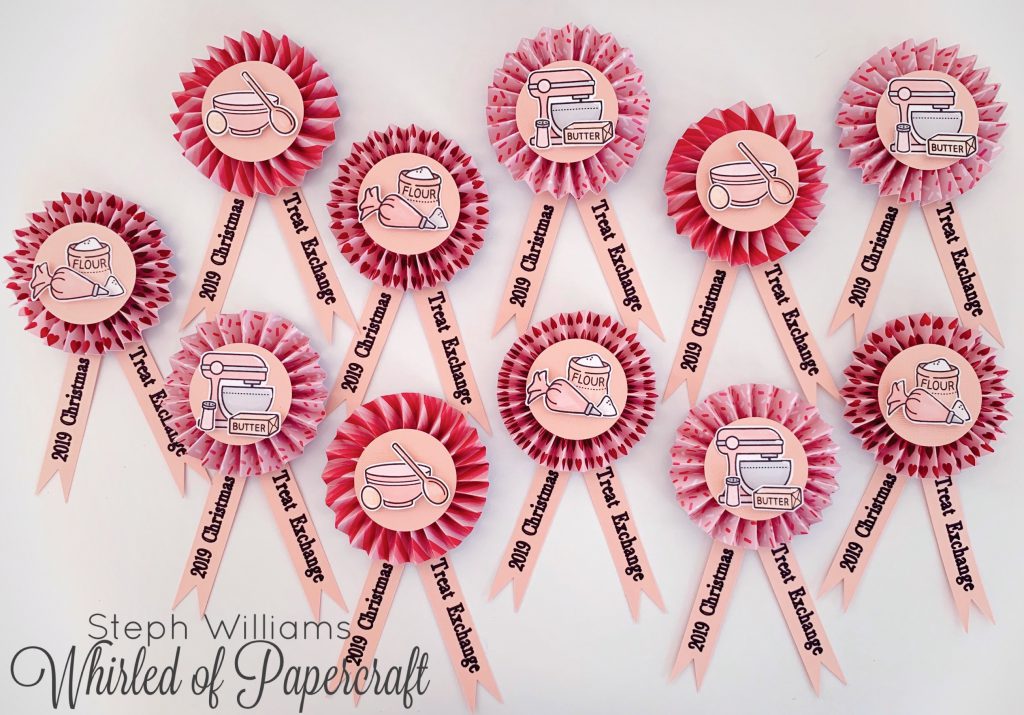
Personally, I think these turned out quite cute!
I’d love to know your thoughts in the comments.
Have you ever hosted a Cookie Exchange? What are your best tips and tricks for a beginner?
I’ll be sure to post photos of our event!